On Facebook, we gladly share our news or holiday memories. But the social network also offers a function to create photo albums by grouping images and videos by theme.

- Create your photo album on Facebook with a web browser
- Create your photo album on Facebook with the mobile application
Do you want to keep the photos and videos of a trip, a family reunion or an outing with friends ... and to be able to consult it on Facebook when you want? To find these images easily, the most practical solution is to create an album. It is easily accessible from its own profile. You can manage its confidentiality settings, add contributors… or simply modify the content published there in a few clicks.
Create your photo album on Facebook with a web browser
- Log into your Facebook account and click on your name to view your profile page.
- Click on Photos in the menu that appears below your cover photo.

- Click on the button Create an album .

- When you click Create an album , a download interface opens. It allows you to search your computer for photos previously saved. Choose the photos you want to add to the album and click Open .
- Once you have added one or more photos, the album creation frame is displayed. It will allow you to manage the parameters of this album.
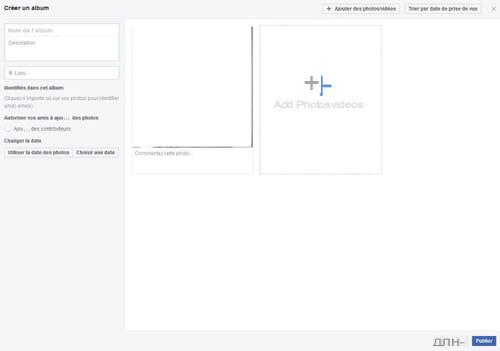
- You can add a comment under each photo: it will serve as a caption. You can also give the album a name, a description, and choose a location. This information is useful for describing your album: for example, Holidays 2019.
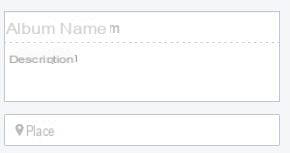
- You can also tag friends on the album, or allow your friends to add photos by checking the Add contributors box.

- If you want to add additional photos or videos, click Add photos / videos to reopen the download interface.
- You can adjust the album privacy by clicking the tab to the left of the button Publish, at the bottom right of the frame. Select Public, Friends, Only me … Depending on the confidentiality you want to give to your album.

- Once the album is complete, click on Publish to finalize the upload. You can still add images or edit the contents of the album even after uploading.
Create your photo album on Facebook with the mobile application
- Open your iOS or Android Facebook app and view your profile page.
- Click on the tab Photos on your profile page. This tab is located below the Publications area.
- Click on Albums to the right. This tab is to the right of albums created by default on the app, such as Photos of you or Downloads. It may therefore be necessary to scroll the list to the right.

- Click on Create an album .

- Fill in the name of the album, its description (this is optional). You can also add contributors if you want. It is also at this stage that you set the confidentiality of your photo album.
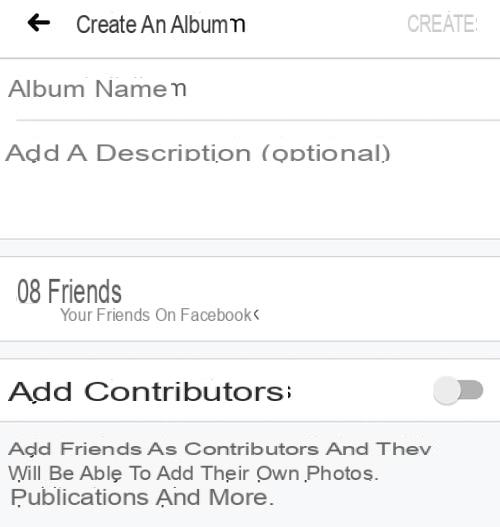
- Once these fields have been completed, click on Create. This action validates the creation of the album and then displays the list of all your albums.
- Click on your new album to display the add content button and click on Add photos / videos to open a download window and be able to select the photos you want to add. These are photos already saved on your smartphone.

- Select the photos and videos you want to add then click on Completed to validate the addition.
- By clicking on each image, you can add a caption or identify another user. When it's done, click Completed to return to the previous screen.
- Once the album is complete, click on Publish to finalize the upload. You can still add images or edit the contents of the album even after uploading.


![[iPhone] iMessage Doesn't Work: No Messages Are Received | iphonexpertise - Official Site](/images/posts/6b02db17523b3c290f81b739e105ae3c-0.jpg)
