A VPN (virtual private network) allows you to share documents or play on a network over the Internet, as if you were on a local network.
It connects two local "physical" networks via the Internet, and private networks via the computers of the local networks.
You will be able to connect with your Freebox to the local network of your home as if you were physically present and in complete safety.
Caution : The VPN Server functionality is only available since version 2.1 of Freebox OS.
How to activate the VPN server
To activate the VPN Server of your Freebox, go to your home on this link: http://mafreebox.comeebox.com/. Then double-click on: "Freebox parameters" (with the notched wheel pictograms), then click on the "Advanced mode" tab. Double-click on "VPN Server" then on "PPTP". Finally, check the "Activate" box.
Create a new remote user
In the same window (VPN Server), click on "Users" which is under "configurations". In the right window you will see an "Add User" button.
Then choose a login and password of your choice for this new user. Leave the Fixed IP option as it is, and click on the "Save" button.
Create the connection to your new workspace
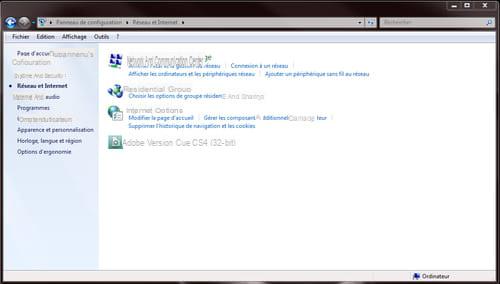
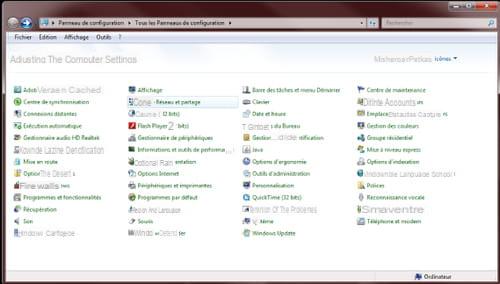
Now that your new user is created from your Freebox OS interface, go to "Control Panel" in "Network and Sharing Center":
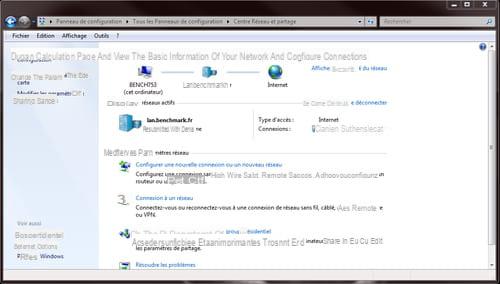
Click on "Configure a new connection or a new network":
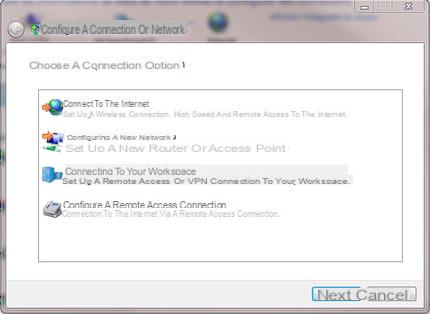
Then select "Connect to your workspace":
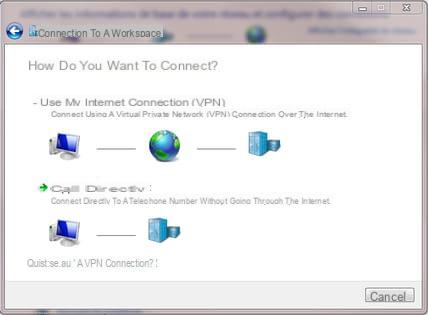
Click on "Use my Internet connection (VPN)":
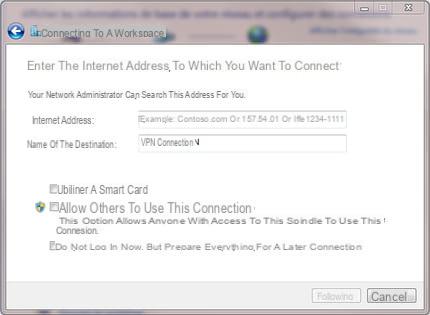
Enter the fixed IP address you entered above in your Freebox Server, then indicate the name of the destination (remote user). Click on "next" to go to the next step.
Go back to "Network and Internet" of your control panel, in "Connection to a network" you will be able to Create an access to your VPN network on your desktop
