
A watermark is a mark that appears in the background on each page of a Word document. Depending on the case, it can be used to indicate its origin, owner, author, confidentiality, status, etc.
Whatever your version of Word, the software allows you to add several types of watermark in the form of text or image, as we will see in this tutorial.
Add text watermark to Word document
- Click on the tab Design ( Disposal on older versions of Word).

- Click on Watermark.

- Check the option texts and edit your watermark.
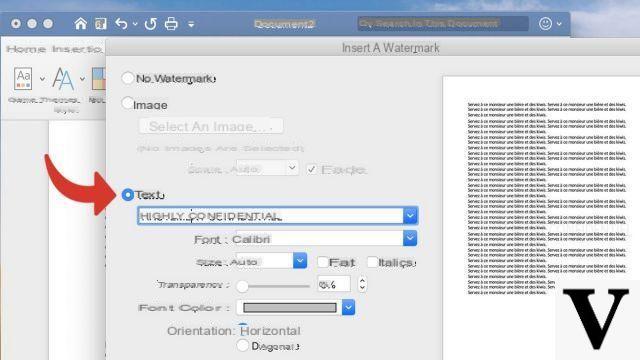
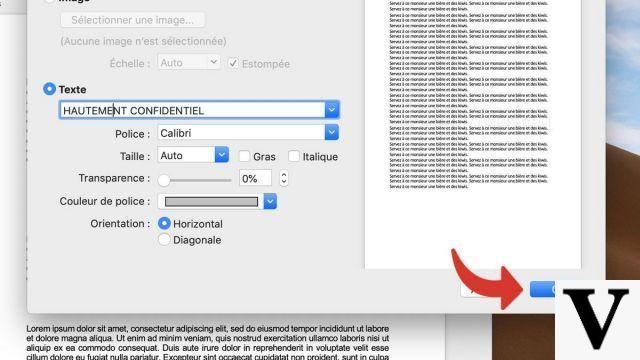
- Click finally on OK.
Add image watermark to Word document
- Click on the tab Design ( Disposal on older versions of Word).

- Click on Watermark.

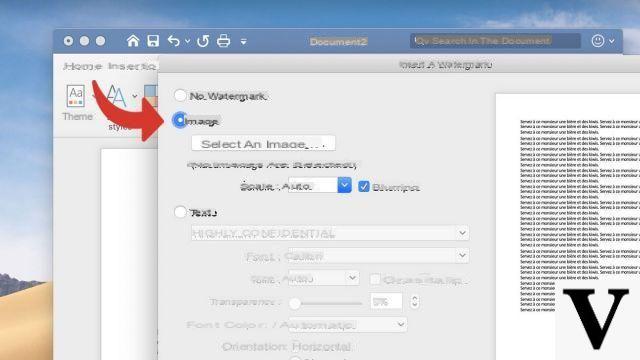
- Check the option ImageAnd click Select an image.
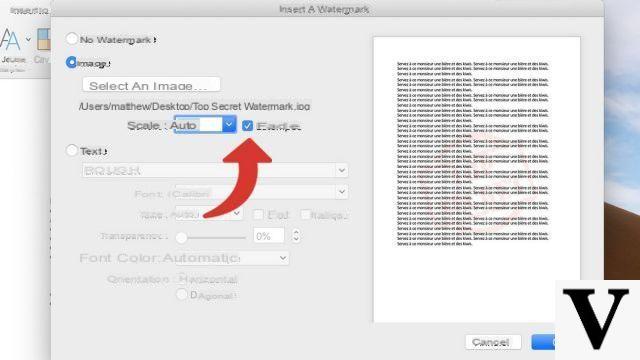
- On the hard drive, select the image you want to add watermark, and then click Insert.

- Check the option Dimmed if you want the image to be slightly transparent. Finally click on OK.
Once inserted, you can edit or remove an image watermark by enabling theheader edit. Double-click on the highest part of your Word document: you can then select the image by clicking on it and apply the modifications of your choice to it (or delete it by pressing the button Delete on your keyboard).
To download :
Microsoft Word for Windows 10 | Microsoft Word for MacOS
Find other tutorials on Word:
- How to insert a geometric shape in Word?
- How to add background to Word document?
- How to quickly insert screenshot in Word?
- How to insert picture in Word document?
- How to quickly insert screenshot in Word?


