When you got your Android, the first step was to create or enter your Google Account ID.
Your Android device is thus directly linked to the Google account that you have associated with it.. Synchronization of emails, calendar, contacts, etc. is then automatic.
The services offered by Google are directly linked to your Google account; examples include Gmail, Maps, YouTube, Google Hangouts, Google+, Google Calendar, Google Drive, Google Music, Google Translate, Google Keep, etc.
Nothing prevents you from setting up several Google accounts on your smartphone, in order to read e-mails, the calendar, and have contacts from all of your accounts.
If you did not set up a Google account when you first launch your phone, we invite you to do so now so that you can benefit from the various services offered by Google.
Create or add a Google account
When you switch on your Galaxy Note 3 for the first time, you created or entered your Google email and the associated password. It is therefore likely that upon reading these lines, you already have a Google account configured in your phone.
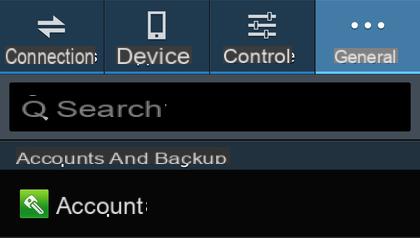
If you have not yet set up a Google account or if you want to add a second Google account, Pull down the notifications bar, press Parameters → tab General → Accounts.
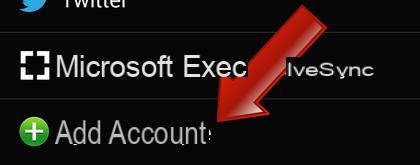
Then press Add Account.
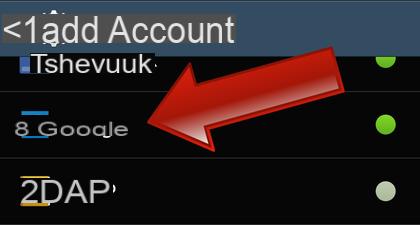
Press Google to set up a new account, Google in this case.
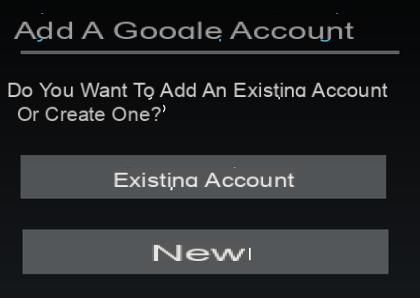
Tap Existing Account to sign in to an existing Google Account, or tap New if you want to create a new Google Account. Then follow the step by step procedure.
If you create a new account or if you do not already have a Google+ account (existing account), you are then offered to join the Google+ community, Google's social network. If you decide to create your Google+ account now, you will be asked to enter your first and last name. Otherwise, skip this step. If you are already registered with Google+, you will not be presented with this step.
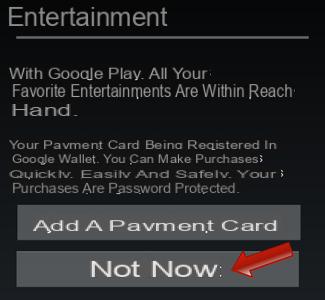
At some point, you are offered to associate a payment card with this Google account. Google Wallet is a virtual wallet that lets you store your payment information securely, as well as quickly make online purchases. It will be used to buy Android applications on Google Play Store. You don't have to create your account Google Wallet at once. We will see in the section devoted to the purchase of applications, how to create it a posteriori. Press on Not now. Note that you don't have to add a payment card to download free apps from the Play Store.
The last step is to select the types of data to sync to your smartphone. First check all the synchronization data.
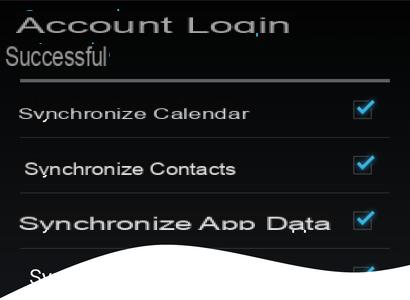
 Your new Google account is now configured. For example, you will receive emails from this new account via the Gmail application, without any special settings!


