
Thanks to PowerPoint, no need for video capture software, the integration of a home video capture module greatly simplifies this operation.
How to record your screen with PowerPoint?
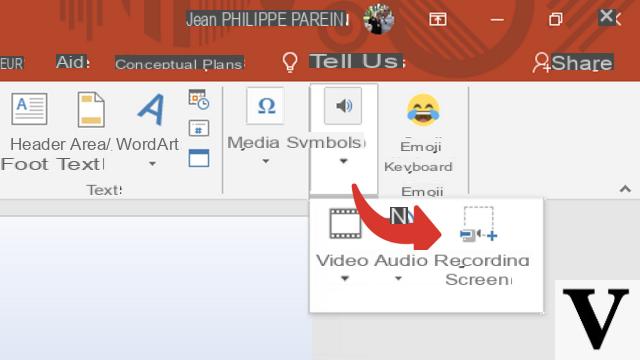
- Select in the ribbon the tab Insertionand click on the icon Video , And then Screen recording.
- The video capture tool will appear at the top of your screen
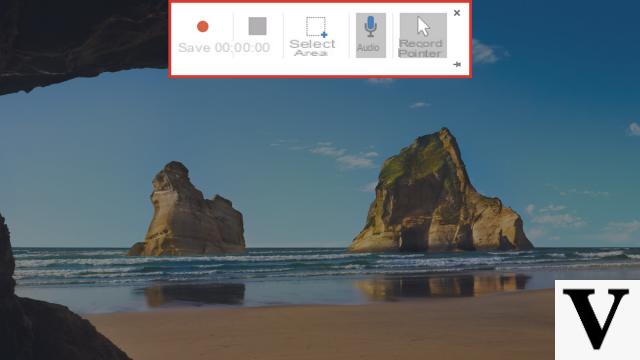
- By default the button Save pointer(mouse cursor) and Capture audio (Default device for system audio recording) are pressed.
- On the left the button Red allows you to start the capture, when recording it turns into a button Pause .
- The button Black (to the right of the capture button) displays the duration of the capture and allows you to stop it.
- The button Select an area allows you to choose the region of the screen to capture.
- To push on Select an area in order to modify the region to be captured:
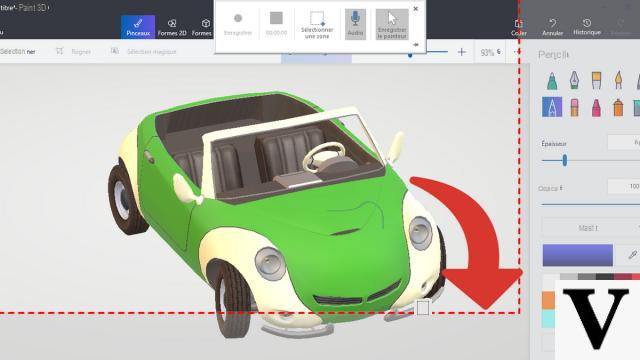
- Once your zone has been validated, press Save , a 3-second countdown is displayed. To stop the capture, click on the button Stop or use the keyboard shortcut Windows + Maj + Q
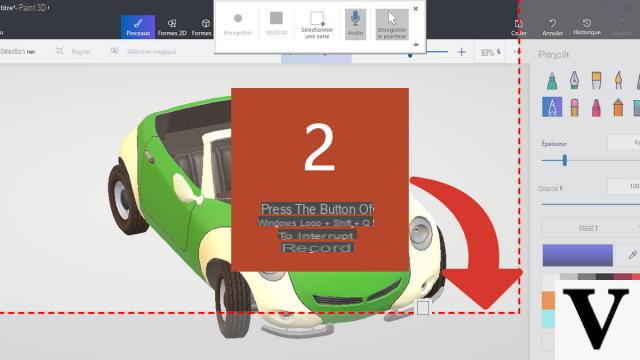
- When complete, your video capture is automatically inserted into your slide:
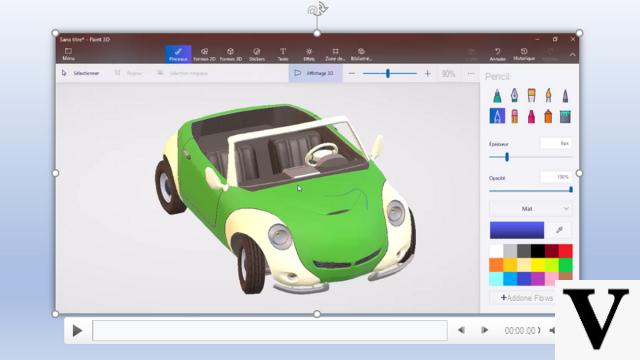
In this example, we have captured the entire window of the Paint3D software, you can observe that the toolbar disappears during the capture. If you want to display it permanently, click on the small bullet at the bottom right.
The capture module integrated into PowerPoint is very easy to use, it also allows you to capture an audio source. But for this you will need to select the default audio capture device in your operating system: a microphone for example. There is a restriction on the minimum size of the area that you can record: it must be at least 64 x 64 pixels.
40 ">This tutorial is brought to you by the trainer Jean-Philippe Parein
Find his course Learn and Master PowerPoint Complete Guide
in full on Udemy.


