Convert a photo to Cartoon it is a very requested operation because it allows you to obtain very nice images (and also artistic from certain points of view) that people love to share on different social channels or send via Whatsapp to friends and relatives or use them as avatars of their web profiles.
We have already seen how to transform photos into drawings, below we will focus on the effect "cartoon"(Or effect"comic) and we will try to understand which tools to use to make this conversion. It is not difficult turn a photograph into a comic apparently hand drawn, and below you will find several guides, from the manual one that makes use of Photoshop or GIMP to fully automated solutions that take only a few seconds to convert photos to cartoon.
- Convert photo to cartoon for free ONLINE (recommended)
- Turn Photos into Cartoons with Photo Cartoon Software
- Convert photo to cartoon with Photoshop
- Transform photos into cartoons with GIMP
- Convert photo to cartoon / comic with android app
- Convert photo to cartoon / comic with iPhone app
Convertire Foto in Cartone Online Gratis
If you don't want to download any software to your PC and are looking for something simple, fast and free for convert photo to cartoon, then what you need is a Web-based service like PhotoCartoon.net
This is a site that offers a FREE service of converting photos into cartoons or comics or drawings. Its use is really simple.
Step 1. Access the site https://www.photocartoon.net/it and click on the button "Choose file”To upload the photo from your computer
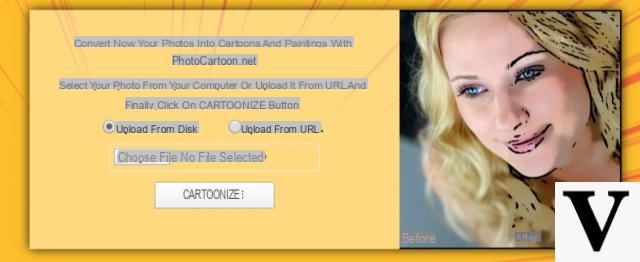
Step 2. Click on the button CARTOONIZE and the system will automatically convert the photo to cardboard
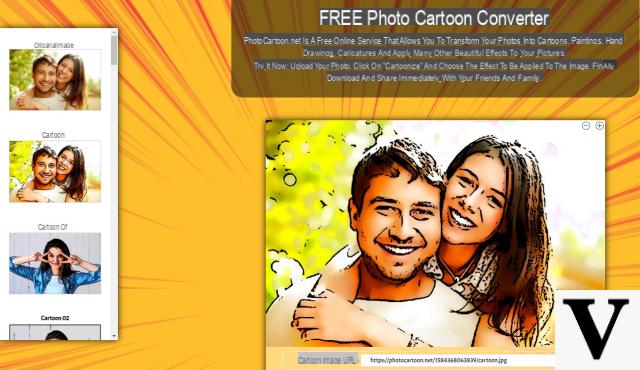
Step 3. From the window that opens you can apply other types of "cartoon" effects to your photo. Choose (from the menu on the left) the one you prefer and finally save the edited photo on your computer to share it with whoever you want. There are really interesting and original effects that you can use to make your photo a real cartoon.
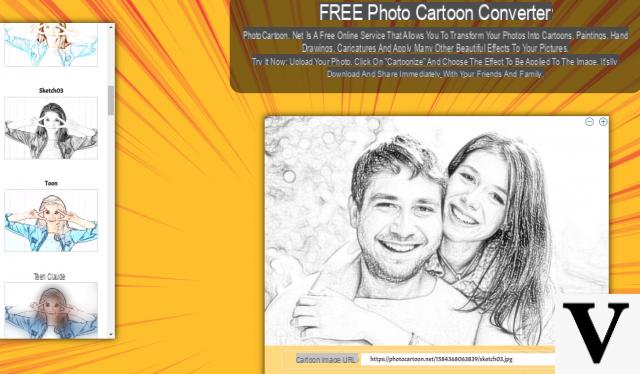
Here is a YoutTube video showing how this nice Photo to Cartoon Converter service works
Turn photos into cartoons with PhotoCartoon Software
Photo Cartoon also has the software version. It is a program compatible with any Windows PC and which allows you to convert cardboard photos, photos in drawings, photos in paintings, photo in cartoonand photos in caricatures. Its operation is really trivial and the result of the conversion is an original and high quality "cardboard" photo.
You can download the free version of the program from the following button:

After installation the following main interface will open:
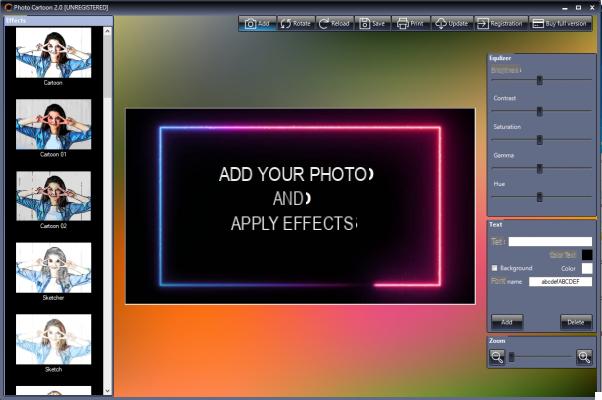
Click on the ADD button at the top to import the photo you want to convert into a comic, cartoon or pencil drawing. Let's take a nice wedding photo for example:
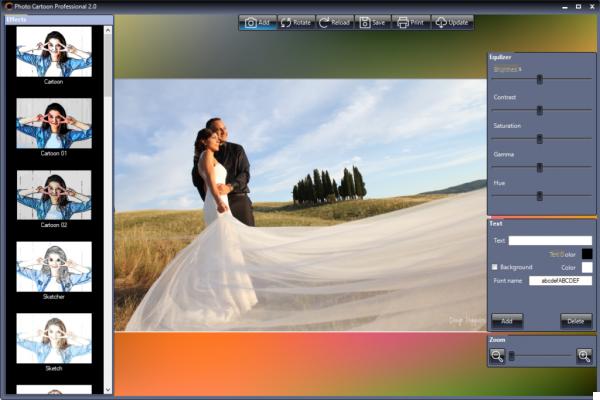
Once the photo is uploaded you can apply the desired effects and do the conversion. For example, by clicking on the effect CARTOON, in a few seconds the image will be converted into a "cardboard" version:
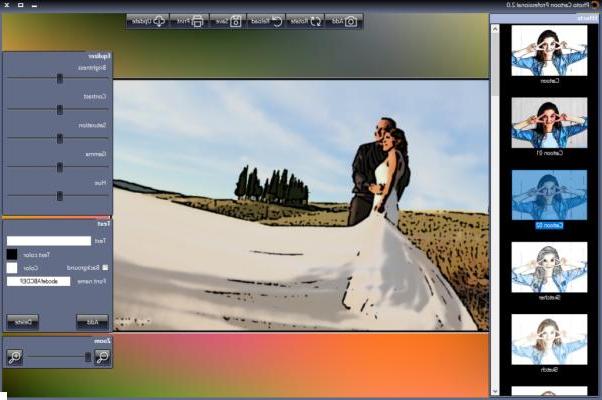
From the left sidebar you can also apply other effects such as "Sketcher" which converts the photo into a drawing, or "paint" to create a painting from a photo.
After the conversion click on the button at the top SAVE to save the new photo in “standard” resolution or “original” resolution. This last option is only active with the PRO version of the program.
Convert photo to cartoon with Photoshop
Photoshop is the leading software in the industry and with it you can manipulate and modify a photo or image in every possible and imaginable way. Here are the steps to follow to convert photo to cartoon or comic with Photoshop.
Step 1: Apri la foto in Photoshop
Start Photoshop on your computer and import the photo, for example we will use the following:
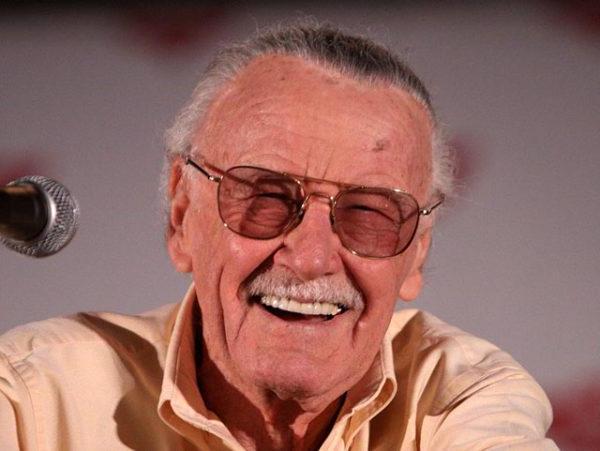
Step 2: Cut out the photo
If you have the Photoshop CC version, the Select> Object command will do a good job of automating this process. If you have an older version, start with the Quick Selection tool and edit the crop using Select and Mask / Refine Edge (depending on your Photoshop version). Use Command / Ctrl J to create a new level from the selection and add one White background on a separate layer.
Step 3: Soften the image
Instead of using the Threshold function, use it first Filter> Noise> Median to soften the portrait. You can use a 4 pixel radius. Unlike Gaussian blur, this softens the photo while keeping the edges sharp.
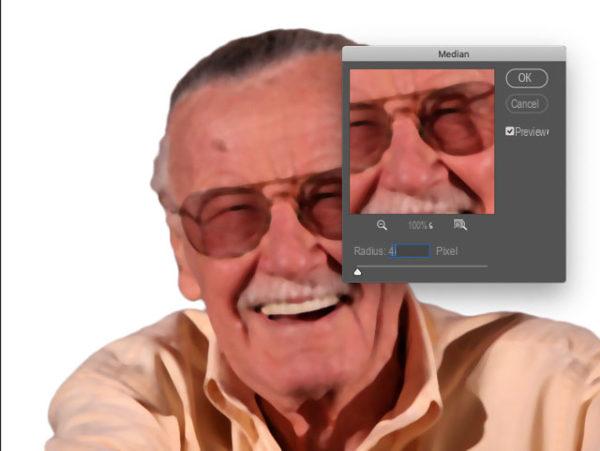
Step 4: Add a Threshold Adjustment Layer
Use Layer> New Adjustment Layer> Threshold to add the threshold adjustment. Now that the median filter has been applied, the effect is much smoother. remove all color from the clipping layer using Image> Adjustments> Desaturation.
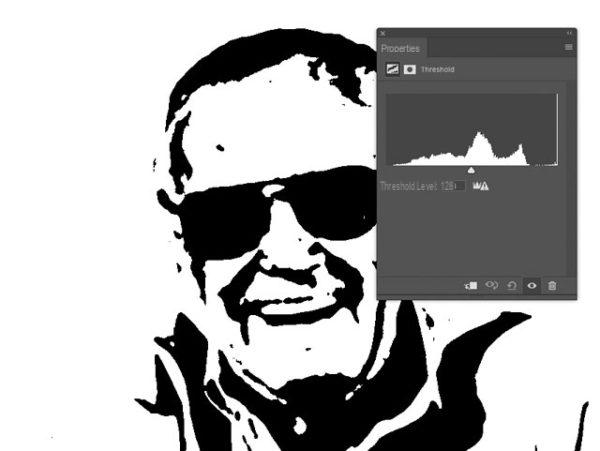
Step 5: Dodge & Burn
Since we are looking into the regulation Threshold down to the layer below, we can change the base layer as we see the final effect. Use the tool Burn set to Recommended to darken the edges of the shirt, to give it definition; hold down Alt / Option to temporarily get the tool Fencing and use it to illuminate too dark areas such as inside the glasses. Take your time on this step, referencing the original so you can get the nose shape and other features right.
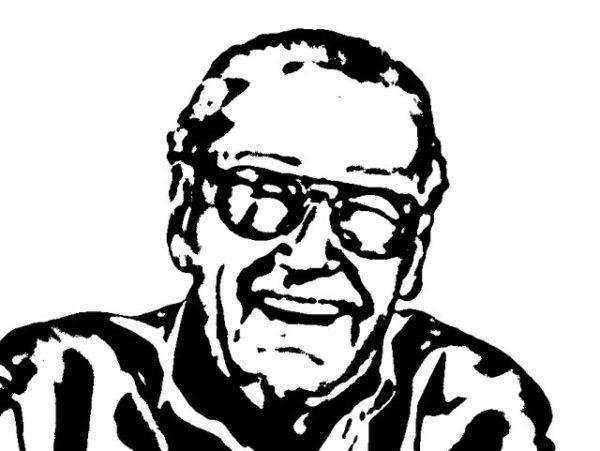
Step 6: Add color layer
Make a selection of the base layer by holding Command / Ctrl and clicking its thumbnail in the Layers panel. Then create a new layer, setting its mode to Multiply.
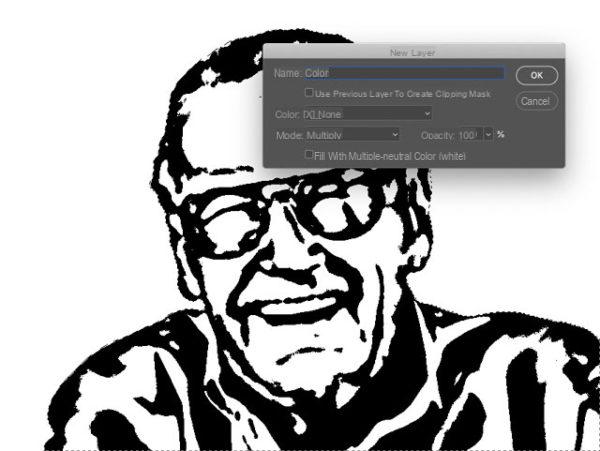
Step 7: Add color
Choose a skin color and use Option / Alt + Backspace to fill the selection with that color. Then deselect and use the / key to lock the transparency of this layer so you can't inadvertently paint over the edges.
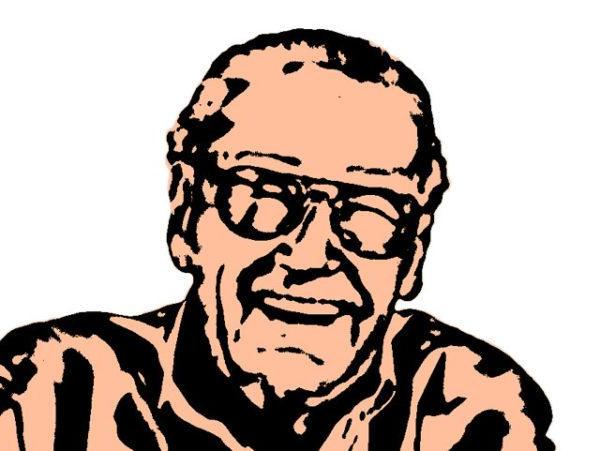
Step 8: Paint the rest ...
Paint over the color layer using appropriate colors for your mustache and hair, glasses and shirt. Paint the area of the teeth pure white. So far it looks OK, but the Threshold filter produces rough edges. We will fix it later.
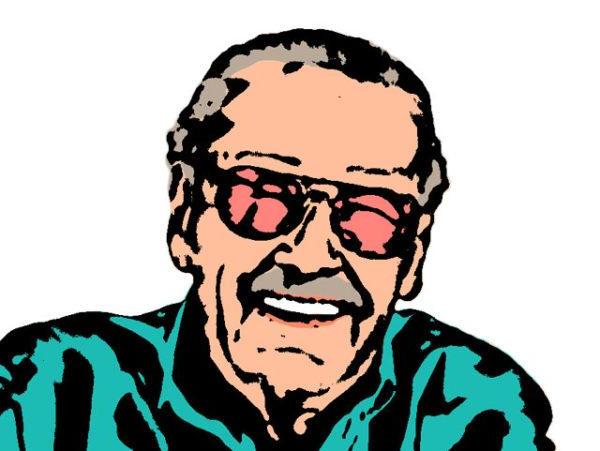
Step 9: Soften the edges
Hide the color layer and use Command-Shift-Option + E / Control-Shift-Alt + E to create a merged copy of the entire image. You can reveal the color layer if you wish, but be sure to work on the newly created merged layer. Use Filter> Blur> Gaussian Blur to soften the image.
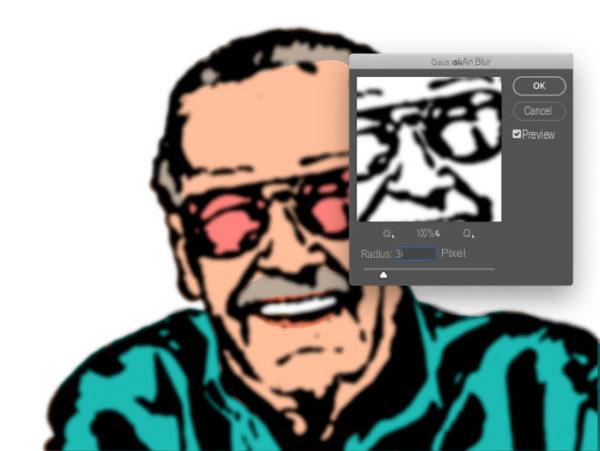
Step 10: Sharpening
Softening the edges predictably produces a blurry result. To fix this, open Layer> Adjustments> Levels and in the Input Levels section drag the black and white triangles towards the center. This shrinks the blur, producing soft shapes. Don't drag them all the way to the center or you'll still get jagged edges.
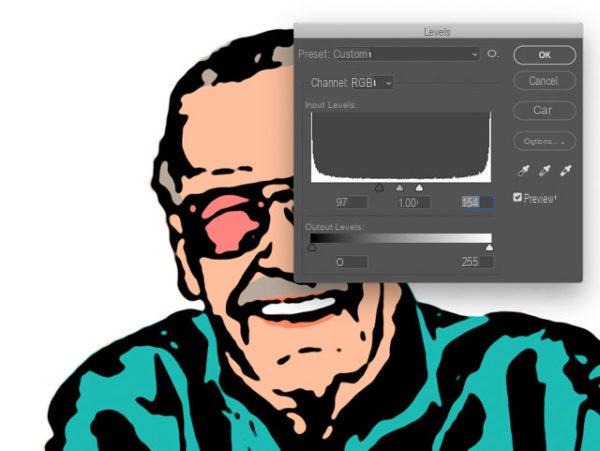
Well, we're done. In these 10 steps you will have converted the photo into a cartoon / cartoon with excellent results.
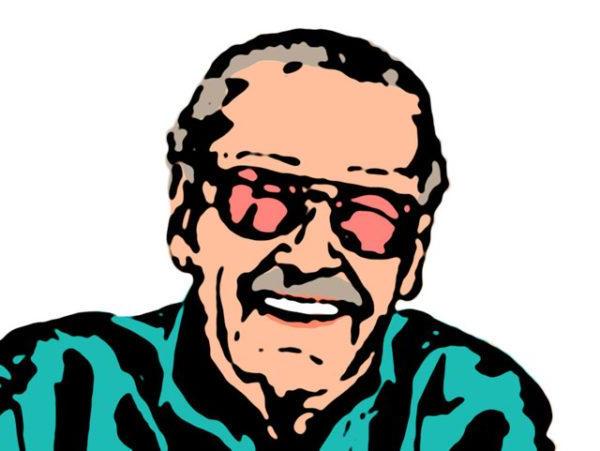
Convert Photo to Cartoon / Comic with GIMP
GIMP is another very popular photo editing software that unlike Photoshop is also completely FREE (open-source). It is possible to use this program to convert photos into cartoon using the "filters" already present in it.
First download the program compatible with your computer from the following page: https://www.gimp.org/downloads/
Immediately after installation, the main program window will open:
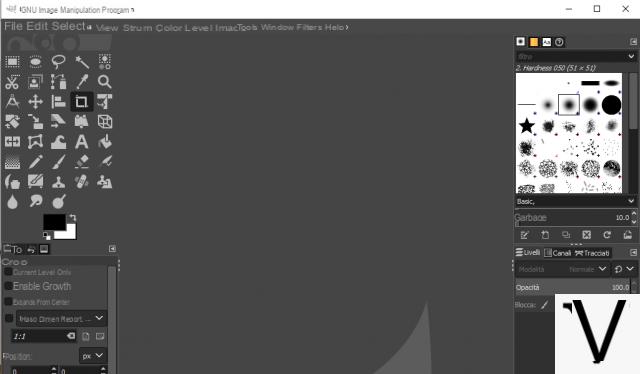
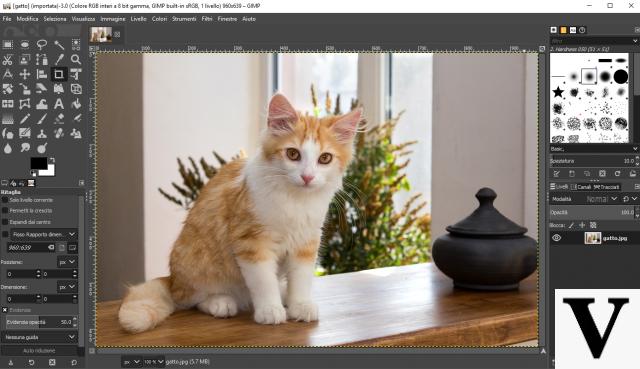
First you will need to import the photo you want convert to cartoon. Go to the FILE menu - OPEN FILE and then choose the image from your computer.
The photo will appear in the central software screen:
Now download the following to your PC custom filter which we will then insert into GIMP. Right-click on its links below and then "Save as" to save it on your computer:
- Download CarTOONize Filter
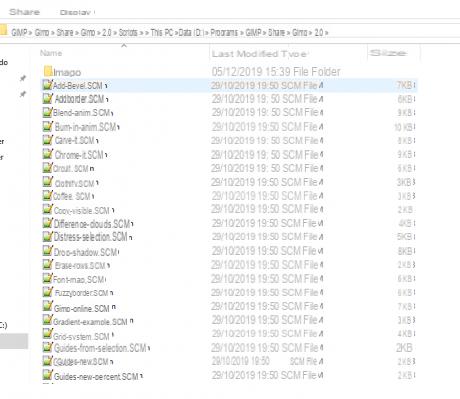
This file you downloaded should be copied to the GIMP installation folder which contains the filters, and which should be in C: ProgramGIMPSharegimp2.0scripts. In this folder copy and paste the CarTOONize.scm file:
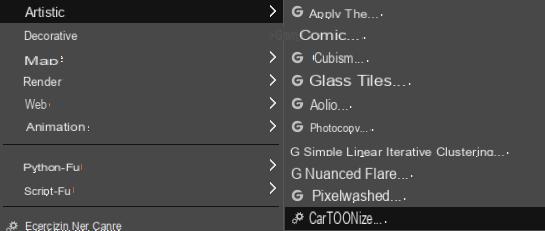
At this point, open GIMP, import the photo you want to turn into Cartoon or Comic and access the FILTERS menu > Artistic and here select the newly added CarTOONize filter.
This window will open with various options:
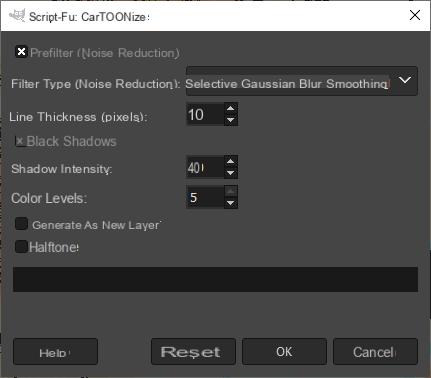
Leave all the default options and click OK to proceed with converting the photo to cartoon. You will see something like this:
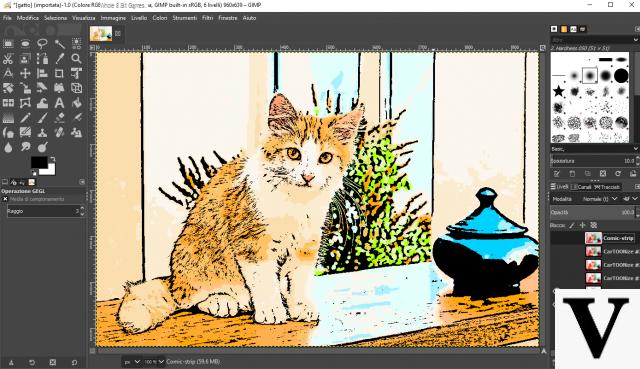
That's all! Now you can have fun converting all the photos you want into cartoons or comics. In the case of comics you can also add cartoons and write whatever you want.
Convert Photo to Cartoon / Comic with Android app
If you have an Android device and want to convert photos saved on your mobile into "cartoons" or "comics" then you need to find the right app that does this job for you. There are dozens of apps capable of doing this conversion, and among these we want to point out PhotoCartoon
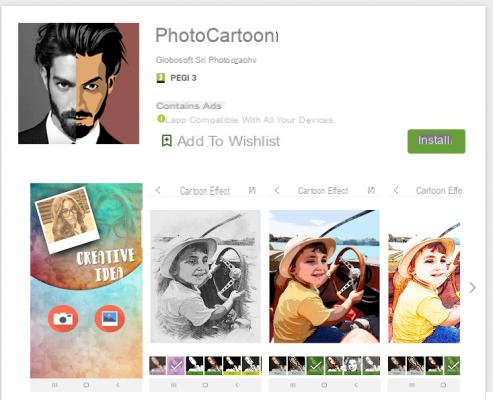
Install this application on your mobile. At startup you can immediately select the photo to convert and then you will have to choose the effect to apply: cardboard, cartoon, hand drawing, painting, etc ...
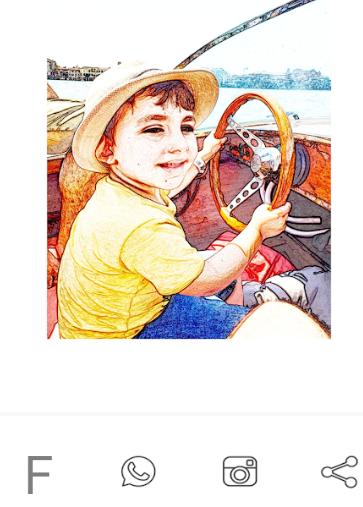
At the end of the conversion you can save the new photo on your mobile phone (it will be saved in the photo gallery) or share it on Facebook, Instagram or send it via Whatsapp.
Convert Photo to Cartoon / Comic with iPhone app
If you have an iPhone (or iOS device in general) the app Cartoon Face animation creator (link apple store) is a very interesting application that allows you not only to convert your photos into a cartoon, but also to animate them thanks to a "morphing" effect of the image. For example, you can distort the image to make it appear to move or to create funny and / or monstrous visa expressions.
PhotoCartoon.net is now updated with new “Cartoon” and “Frames” effects ready to apply to photos. Convert photos to cartoons with one click and in high quality!
How to turn photo into cartoon / comic? -


