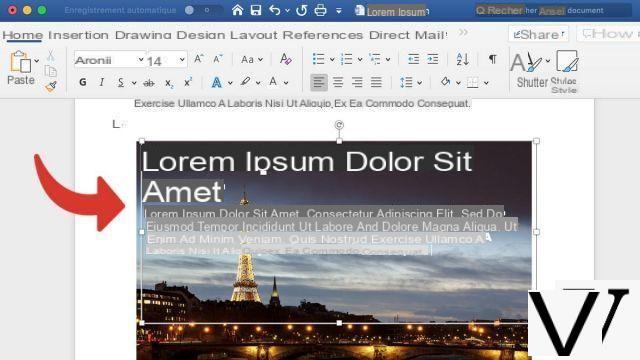
Want to add text in an image to improve the presentation of a document in Word? It's very easy thanks to the text box. This tutorial will walk you through the process, step by step.
The text zone is recommended for adding text of any size, wherever you want in the document, having access to all the formatting options (font, size, edition ...).
Write in a picture in Word with a text box
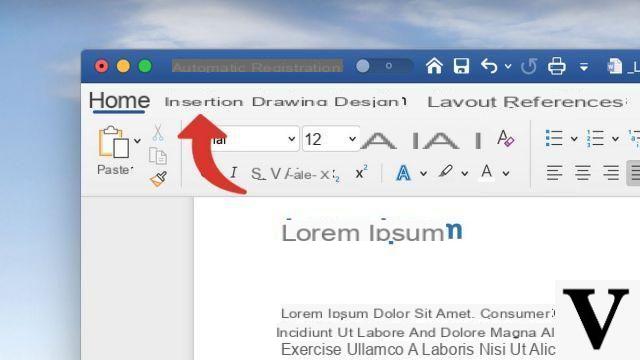
- Click on the tab Insertion.
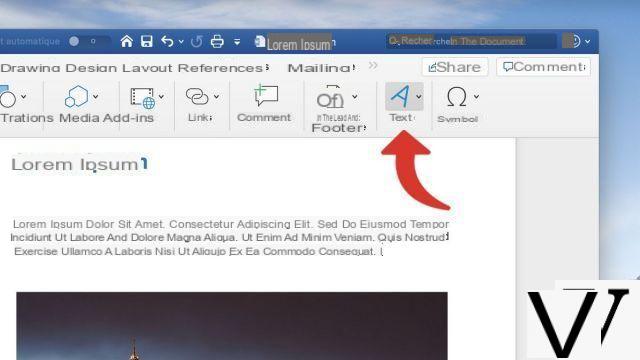
- Click on the button texts.
- From the drop-down menu, select the option Text zone.
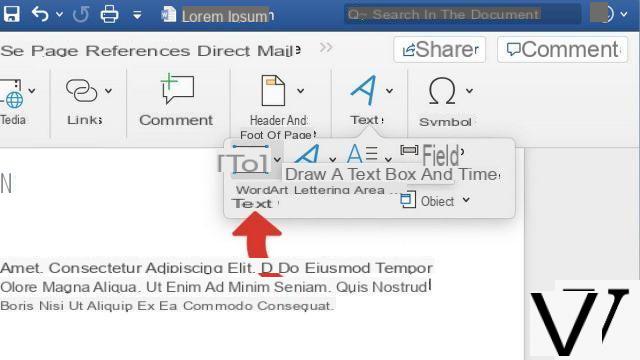
- Click on Draw a text box.
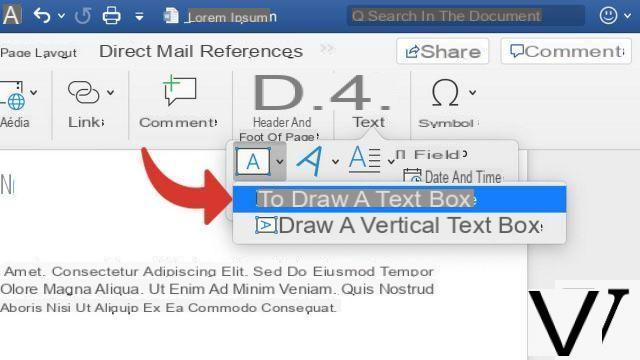
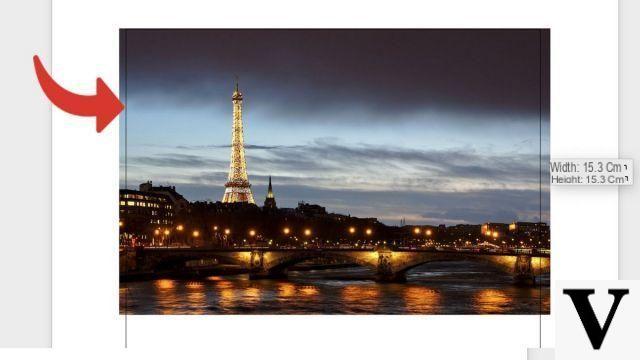
- Keeping the left mouse button pressed, draw a cadre at the exact location where you want to insert text, on your image. You can then move this frame if you want.
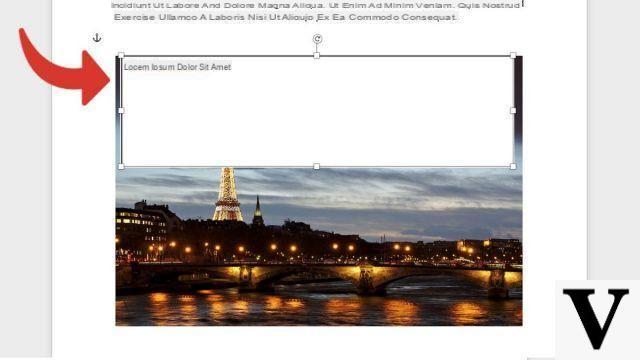
- Place the cursor in the frame and enter your text.
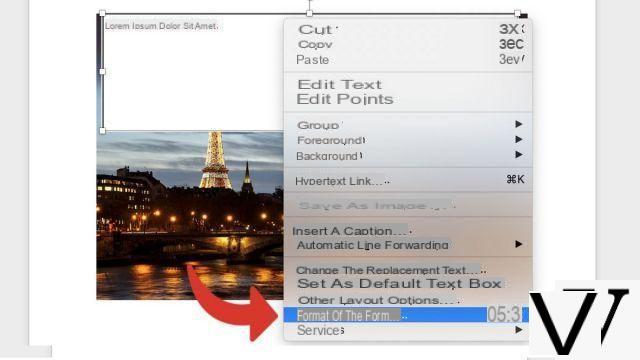
- Right click on the text box and click Shape format.
- Click on Shape Options.
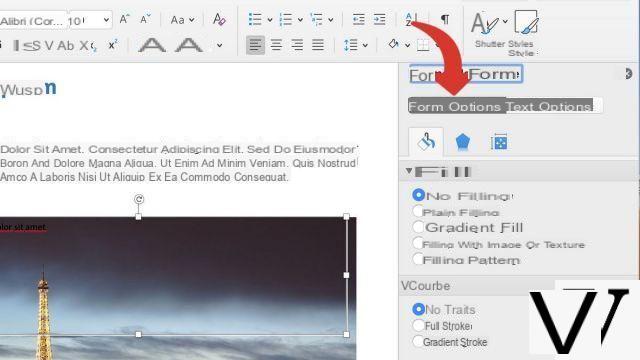
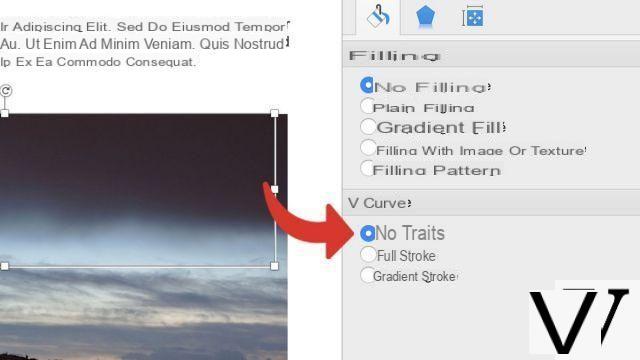
- Check the options Filling> No filling et Curve> No line.
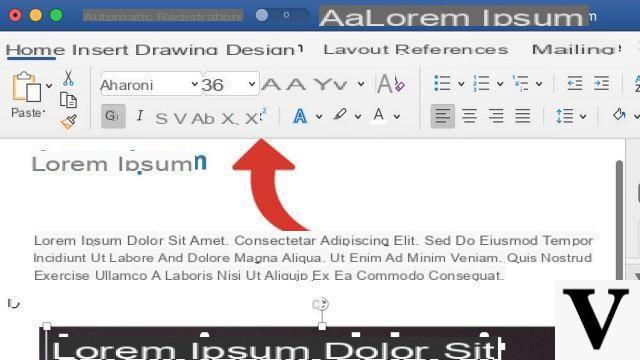
- You can then edit the appearance of your text with the options of to improve fitness under the Home tab.
Le WordArt format is more suitable if you want to add short text (title, slogan) with advanced text effects. It is available under the tab Insertion, clicking on Texte > WordArt.
To download :
Microsoft Word for Windows 10 | Microsoft Word for MacOS
Find other tutorials on Word:
- How to reverse a text in Word?
- How to create a hyperlink in Word?
- How to deactivate a hyperlink in Word?
- How to show or hide non-printable characters in Word?
- How to write curved text in Word?


