The problem with email addresses these days is that they can fall into the wrong hands and thus make us subject to receiving spam, or advertisements, on a daily basis.
To overcome this problem and reduce the number of spam or phishing emails in your inbox, it is advisable to communicate a minimum of your personal email address on websites or with companies.
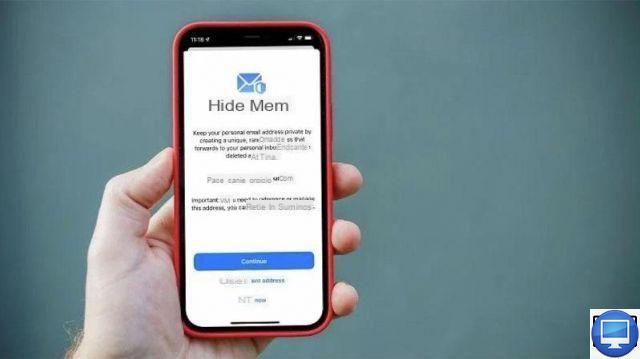
For Apple users, there is a very simple solution since the release of iOS 15: the functionality Hide my email address.
Create a temporary email address with Apple
Apple, for example, offers the ability to share a temporary email address when you register with certain companies.
Passing through the option Login with Apple, which is increasingly used, you have the option to hide your email address by creating an account for a particular application or website.
By choosing Hide my email address, the firm will create a replacement email for you that will end with @privaterelay.appleid.com.
Sent by Apple, emails will then be sent to this address, you can read and respond to them.
In case you want to change the address to which these emails are forwarded:
- See you in Settings.
- Tap your name.
- Select Name and contact details.
- Under Contact Information, tap Edit, then tap Add Email.
Currently this option only works as part of the option Login with Apple, and it is currently not available for all services you subscribe to.
Hide my email address and Private Relay with iCloud+
The iOS 15, iPadOS 15 and macOS Monterey updates, combined with the new iCloud+, bring the possibility of creating a relay address that can be used at any time, and no longer only via Login with Apple.
Indeed, iCloud+, which upgrades the already existing iCloud service with new features, including private relay, adds the ability to automatically create disposable email addresses to sign up for services, online mailing lists and complete forms.
This temporary address ends in @icloud.com, instead of the current @privaterelay.appleid.com used for Apple's Hide My Email feature.
As before, you'll be able to choose to forward any of these emails to any email address you've set up on your Apple device - it doesn't have to be an iCloud address.
If you decide later that you no longer want to receive e-mails via this service, then you can easily filter them without having to unsubscribe.
Hide my email address on iPhone and iPad
In a few lines, find out how to use the new iCloud+ feature born with iOS 15.
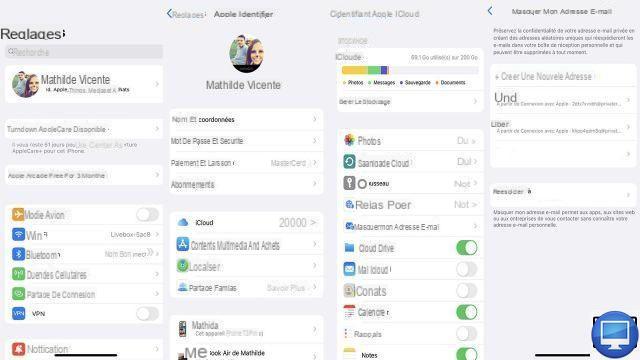
To access the new features of Hide my email address, Here's the procedure to follow :
- Open Settings and tap your name at the top of the page.
- Select iCloud.
- In the list you should see Hide my email address, tap it.
- Select option Create a new address and press Continue when prompted.
- Enter the requested details, then select Next.
- To finish, press Completed.
Once your address is created, you can use it online for different services.

To change it, simply go back to the settings iCloud, press Hide my email and select the option Reship to.
Hide my email address on Mac
The method to take advantage of this feature is similar on Mac, as you need to have access to iCloud+, which you won't be able to get until the fall when Monterey is officially released. Otherwise, you can also register for the public beta.
Be careful though, because the latter can give rise to problems, to the point of damaging your Mac. So be aware of the risks before installing the software.
If that caveat doesn't scare you, then once macOS Monterey is installed on your Mac, here's how to use Hide my email :
- Open them System Preferences.
- Choose Apple ID then make sure the tab iCloud in the left column is selected.
- In the main window you should see Hide my email, press Options.
- Follow the instructions to create a disposable email address.
There it's done. Now you can sign up for newsletters, online contests, and more, safe in the knowledge that you can end all emails whenever you want and senders will never know your real address.
Recommended articles:
- How to send an anonymous email?
- Disposable emails: the best services


