In light of the scandals involving several celebrities some time ago, many have tried to take precautionary measures to ensure greater data security and protect their personal privacy. It is true that Apple has assured users that iCloud is safe and does not violate security regulations, but there is always the fear that some hackers could access personal data and make it public.
The best way to keep your photos safe is to save them in a safe place and delete those that you might consider "compromising". Did you know that deleting the photos from the “Camera Roll” of your iPhone or iPad, they are not also removed from the iCloud? To ensure that your photos are completely deleted, you need to delete them from your device, computer and iCloud!
Many think that deleting the entire backup from iCloud is enough to stay safe but that's not the case. Here are all the steps and checks to be done to be sure that the photos have actually been and permanently deleted from iCloud.
# 1. Delete photos from photo “Albums”
The photos taken in the last 30 days (or the most recent 1000 photos) will be stored in the 'My Album' section of the device. To remove these images you need to open the 'Photos' application, select 'Photo album', here select the photos you want to remove and then select the trash icon. This will delete all selected images from both the device and iCloud.
If you can't delete albums you could rely on TunesGO, a program that helps delete photos from iPhone even without iTunes.

# 2. Delete iCloud photos from iPhoto
If you have used iPhoto, open the app on your Mac. Access the 'iCloud Events' section and here you will find folders organized by month. Once you have found these folders you simply need to access them, select the images you want to remove and click the 'Delete'.
# 3. Delete Photo Stream on PC
For Windows users it is advisable to access iCloud photos by going to: C: Users (username) iCloud images FotoMy Album. Once you have found the folder you can select the photos to delete and click 'Delete'.
# 4. Deleting iCloud backups from iPhone, iPad or iPod touch
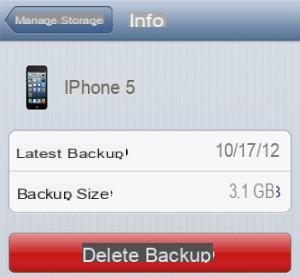
We're almost done, but there are a couple of other steps you can take to further ensure your safety. A first thing to do is to delete the iCloud backup. These contain photos and videos, so it's important to remove them if you want to erase all traces of your photos. From your iPhone or iPad go to 'Settings', then to 'iCloud', and select 'Storage & Backup'. Finally click on 'Manage storage' and here you will see a list of all devices (if you have more than one), which you can select and choose 'Delete Backup'to remove data from iCloud.

# 5. Disable iCloud backup on your iOS device
A final step is to prevent iCloud from continuing to back up your photos in the future. To do this go back to 'Settings' -> 'iCloud' -> 'Photos'. Select the option to disable photo backup and choose 'Delete' when asked if you want to remove all pictures from iCloud. Then, go to 'Settings', 'iCloud' and choose 'Storage & Backup' again. Now choose to turn off the 'iCloud Backup' option.
# 6. Scan with dr.fone
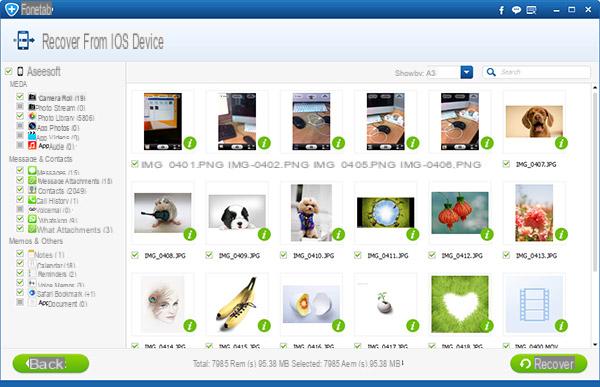
To be sure that the photos have also been permanently removed from your device (iPhone, iPad ..) we recommend scanning its memory using dr.fone for iOS, one of the most powerful iPhone and iPad data recovery programs. Find all the steps to follow in the guide: How to recover deleted iPhone photos

If the scan still shows the photos in the device memory then it is advisable to use a program such as SafeEraser to delete them permanently. SafeEraser uses the “overwrite” method to permanently delete the photos stored in the device. Read the guide: How to permanently delete photos on iPhone

That's all! Once you have followed all the steps above you can be 100% sure that your photos will no longer be visible or recoverable. The same steps are also useful for those who want to delete videos from iCloud or iOS device.
Permanently Delete Photos from iCloud -


