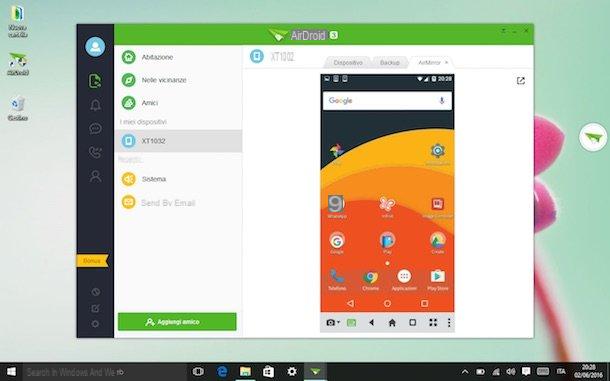
We have already reported a very practical and fast way to transfer photos from Android to your computer, for backup purposes; below we see instead how you can do the reverse operation that is transfer photos from computer to android safely and without wasting too much time. First of all it must be said that there are different ways of transferring photos from PC / Mac to Android: there is the manual method via USB connection, the one via bluetooth, via Wi-Fi and the one via third-party applications or software. Let's take a quick look at all of these solutions.
# 1. USB connection between Android and PC to copy photos
Using a USB cable, connect your Android phone to your Windows PC and then go to "My computer" to find out if the device has been detected as an "external disk". If detected, you can access the device memory and go to the folder DCIM where all the photos are present. At this point by dragging the photos from your PC into the folder DCIM you should be able to make the copy you want.
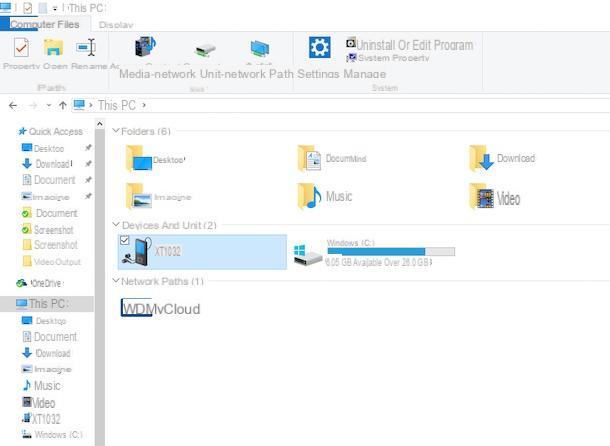
However, Windows often does not detect the Android phone as an external disk and it is therefore not possible to do this transfer of photos from the PC to Android. In this case you will necessarily have to rely on an "Android Manager" program to manage the data (and therefore also the photos) directly from the PC. Each mobile phone manufacturer usually provides an "official" data management program, for example Samsung provides the tool Smart Switch, Huawei provides the program HiSuite, HTC instead created HTC Sync Manager, and so on ... However, if you are looking for a "universal" program for managing data and transferring photos from your computer (both PC and Mac) to any Android mobile phone, we recommend using a program such as TunesGO, best described below.
#2. Transfer photos from computer to Android / iPhone with TunesGO
TunesGO is a powerful program that allows you to manage all (or almost) the files on your Android device from your computer (PC or Mac). You can immediately download it in free demo version from the following download buttons:


Install the program and immediately connect your mobile phone (Android or iPhone) to the computer via its USB cable. On the program a warning that will ask you to enable USB debugging on the device. If you don't know how to do it, read how to activate usb debugging on Android
Once the mobile is recognized by the program you will see this main screen:
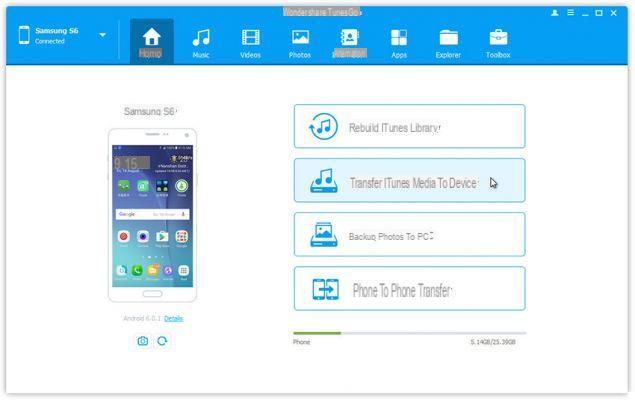
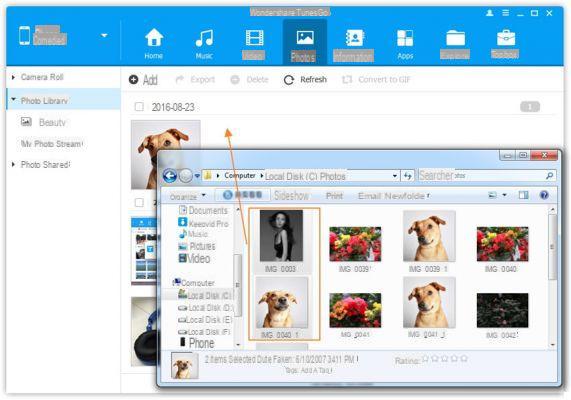
At this point, access the section at the top PHOTO and you will see all the photos saved on the device. To transfer photos from your computer to your Android phone, all you have to do is click on the button at the top ADD and choose the photos to transfer. Or, even faster, you can drag all the photos from your computer into the program to import them faster:
# 3. Transfer photos from computer to Android over WiFi
How about connect Android to PC or Mac without the help of cables to be able to transfer photos to and from the mobile phone? Thanks to the program Android Transfer this is possible and also easy to do. To connect Android to your computer via Wi-Fi, here are the steps to follow:
Step 1. Install the Backuptrans Data Sync app on your Android mobile / tablet
Go to your Android mobile, connect to the app GOOGLE PLAY and search for “Backuprans Data Sync” (or click HERE to go directly to its page).
Install the app DATA SYNC on your Android. Here is the first screen you will see after installation:

Click on “Connection"To view the details of the Wi-FI network (through which you can transfer photos)
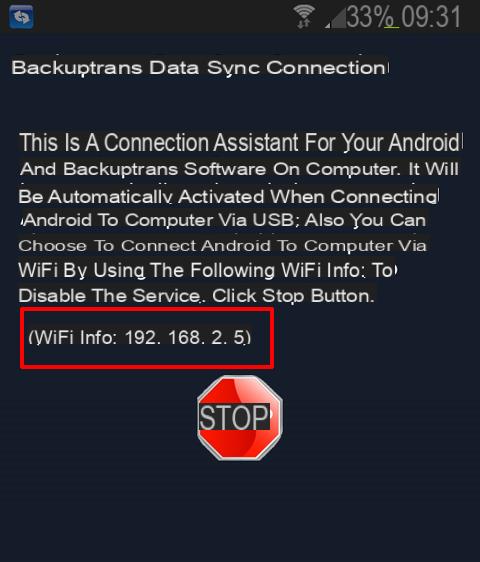 Somewhere write down the IP address you will see on the app screen (see figure above). You will need this IP later.
Also make sure your computer and Android device are connected to the SAME Wi-Fi network.
Step 2. Open the Android Transfer program on your PC / Mac
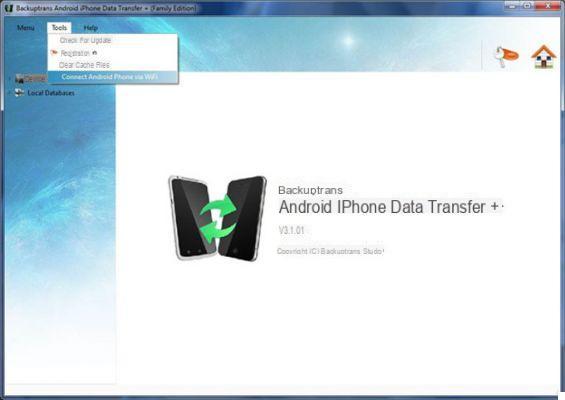
Download and install the program on your computer now ANDROID TRANSFER. From the home screen of the program go to the menu "Tools" -> “Connect Android Phone via WiFi”.
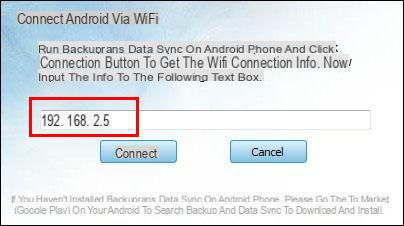
 Step 3. Enter the Wi-Fi information
Now enter the IP address you wrote down a few minutes ago. After writing the IP click on Connect and the program will detect your Android device in Wi-Fi mode.
 Step 4. Transfer Photos from Computer to Android via WiFi
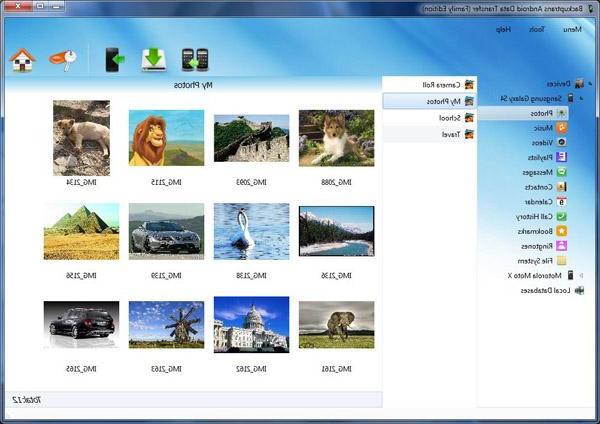
Now always from the program access the section PHOTO from the menu on the left. All the photos of the mobile will appear in the center of the program. To transfer new photos from your computer to your mobile phone, all you have to do is click on the icon relating to the "Import Files"And you can proceed with the copy.
let's hope that this time it goes well
thank you


