Nothing better than a summary to quickly navigate in a long document and directly reach a specific section! With a little prep work, Word can generate one automatically with just a few clicks.
A summary at the beginning of the document, a table of contents at the end of the book ... whatever the name and the function given to it, its position or the wealth of information it presents, this synthetic view is in any case good convenient for easy reference in a document of several pages, such as a report, a thesis, an instruction manual or a book.
For a consultation on paper, we find our way thanks to the page numbers. On screen, for example after converting the Word document into a PDF file, all you have to do is click on a section title or sub-title to display the correct page.
Obviously, it is out of the question to produce a summary by hand these days! Not only would the operation take a long time, but, in addition, it would have to be restarted at the slightest change of page or title. Like other word processing software, Word has specific functions and subtle options for automatically generating and updating a summary, including a very simple method: the automatic table of contents.
However, for Word to do its job correctly by managing everything automatically for you, you still need to give it a hand beforehand by preparing your document. Nothing complicated: you just need to apply title styles to each of the titles, subtitles and subtitles in your document before requesting the creation of a table of contents. It doesn't take more than a second per title. And you win damn in the change.
First, because Word thus keeps the same presentation for all the titles of the same level. Better yet, if you change the formatting of one, all other titles of the same type adopt it automatically, without your intervention. Magic ! Secondly, because Word keeps the numbering of these titles up to date, even if you add, remove or insert titles and subheadings in your document. Finally, because it creates a summary or a table of contents in two clicks, and it updates it at your request always automatically, changing the page numbers if necessary.
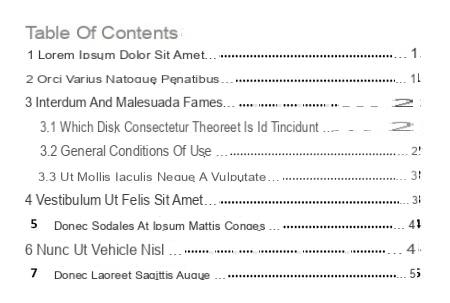
Word for Windows and Word for Mac offer the same options, although the layout may differ slightly. On the other hand, while the free version of Word for the web lets you apply heading styles and then generate and update a table of contents, its options are much more limited.
How to prepare a summary with the styles of titles of Word?
To quickly generate a summary or a table of contents, the easiest way is to first apply Word's predefined heading styles (Heading 1, Heading 2, Heading 3…) to the headings and subheadings of your document. The styles have countless options, we give you just a few tips here to apply the predefined title styles, modify them and possibly number them automatically in order to create your summary.
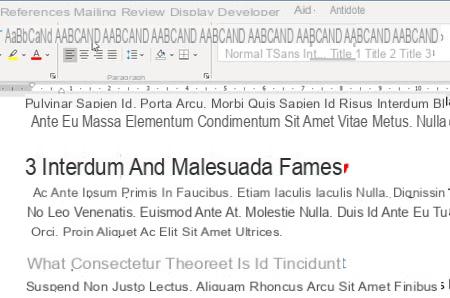
- To apply Word's predefined Heading 1 heading style to one of the headings for large parts of your document, select the entire heading of the heading (or just click on that heading but not selecting any characters in it) and, in the 'tab HomeSection Styles, click on Title 1.
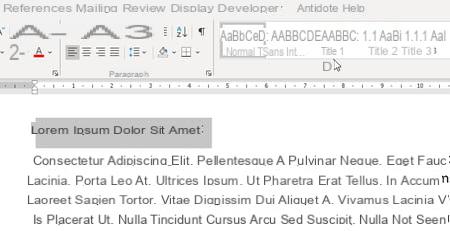
- The Heading 1 style presentation is applied to the paragraph and, in the styles gallery, Title 1 is now selected. To remove this paragraph from its title status and give it a classic formatting, click on Normal in the list of styles.
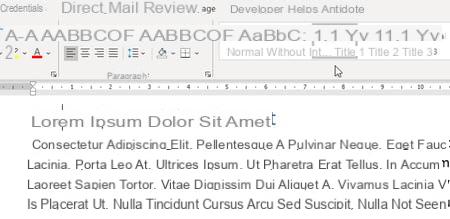
- Proceed in the same way to apply a predefined style of Word to a subpart title, select this paragraph and, in the tab HomeSection Styles, click on Title 2 ou Title 3, etc.
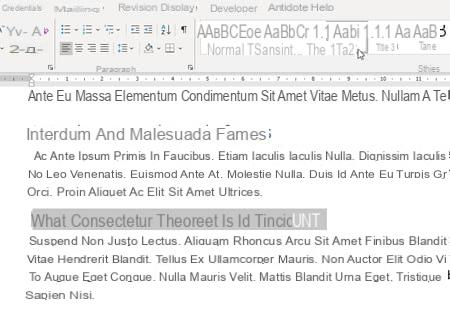
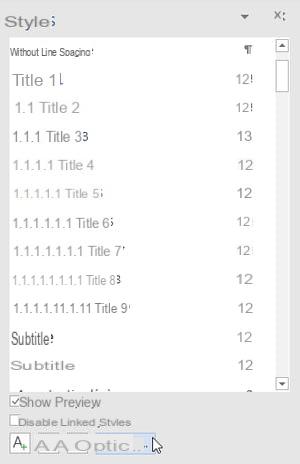
- Word only has two or three levels of Heading styles in its Quick Style Access Gallery, but it actually provides nine, from Heading 1 to Heading 9. To see them all, on PC, press Alt + Ctrl + May + S to display the styles pane, click the button Options then in the Select the styles to display list> All styles (instead of Recommended). On Mac, in the tab Home, Click on the button Styles pane. At the bottom of the displayed pane, List section, choose All styles.
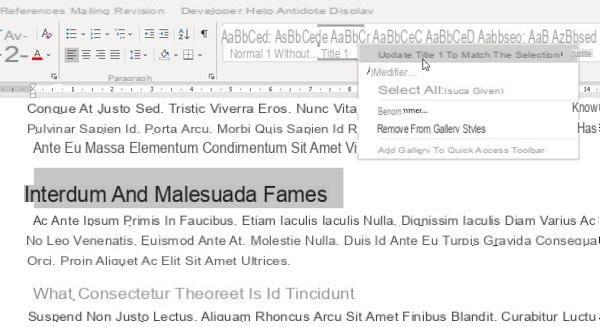
- To modify a title style and automatically reflect these changes on all titles at the same level, modify the attributes of a title (bold, color, font size, etc.) and, in the tab Home, in the styles gallery, right-click on this style, for example Title 1, then choose Update Heading 1 to match the selection. You've just redefined style.
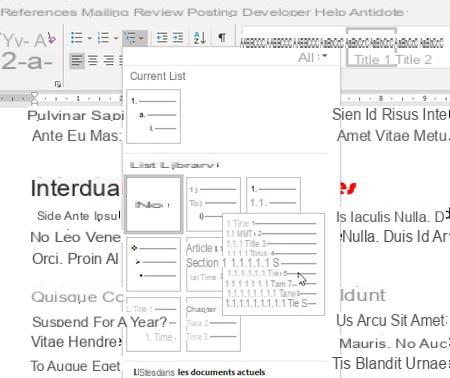
- To number all the titles (Title 1, Title 2, Title 3, etc.), select a Title 1 style title and, in the tab Home, click on the drop-down button Multilevel list. In the List Library section, select for example the one with: 1 Title 1, 1.1 Title 2, etc.
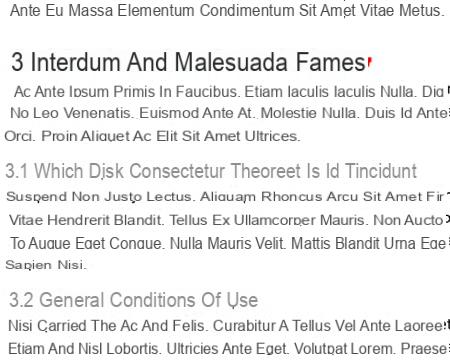
- All part titles and subheadings are automatically numbered, including if you later add, intersperse, remove part titles and subheadings (Heading 1, Heading 2 style paragraphs, etc.).
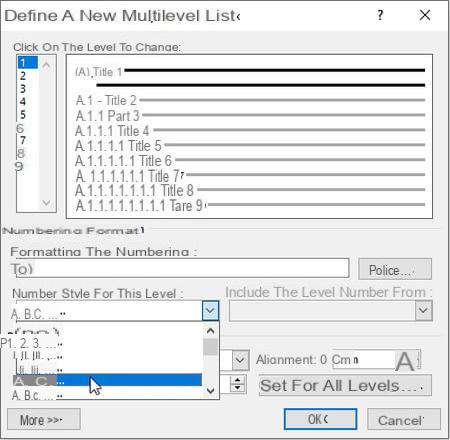
- If you want to customize the numbering, for example A, B, C ... for level 1 titles, or Roman numerals (I, II, III, IV ...) for level 2, etc., click on tab Home> drop down button Multi-level list> Define a new multilevel list. Change the options here.
- To number only Heading 1 style titles, click on one of these Heading 1 style titles and in the Home, click on the icon numbering or on the drop-down arrow to its right to customize the numbering. Redefine the Heading 1 style as seen above: Heading 1 style paragraphs will be numbered automatically, even if you later add or remove titles of the same level.
How to insert summary or table of contents automatically with Word?
Once you have applied the Heading 1, Heading 2, Heading 3, Heading 4, etc. styles to your part titles and subtitles, the generation of the summary is done in two clicks. Word calls this synthetic view of the document a Contents ; you can rename it as you see fit, for example by


