
Word offers to customize the presentation of a text document by adding a background image visible on all pages. Several methods make it possible to achieve this result; this tutorial shows you the trick which has the advantage of working with all versions of Word, by inserting the image in the header of the document.
Another advantage: this method gives you advanced options to configure the rendering of the image.
Insert a background image via the header of a Word document
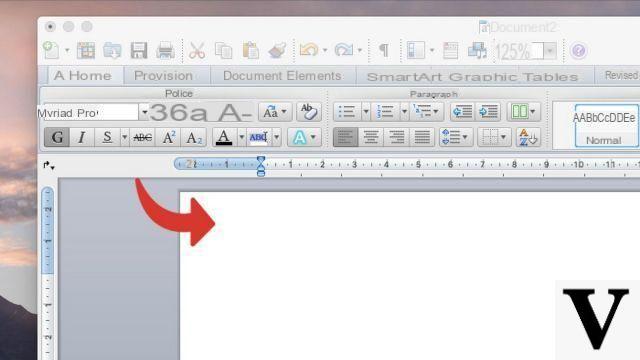
- Double-click on the header area (at the very top of the Word document).
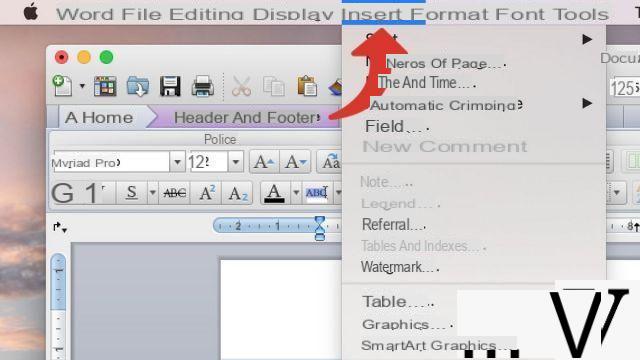
- Click on the button Insertion, at the top of the screen.
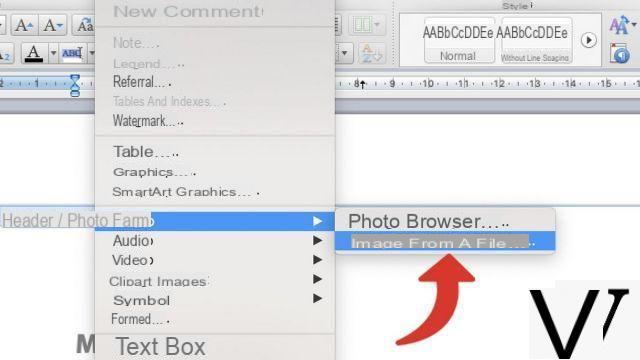
- Select option Photo> Image from file. On newer versions of Word, click the tab Insert> Image> Image from file.
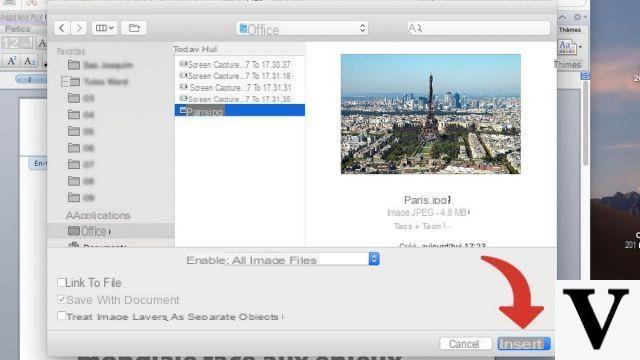
- Select the background image from its location on the hard drive and click Insert.
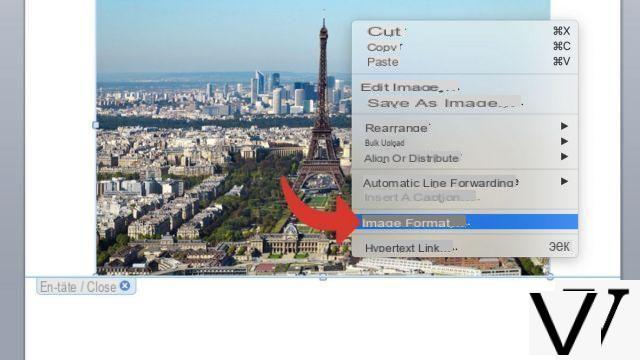
- Right click on the image and click Image format to access the edit menu.
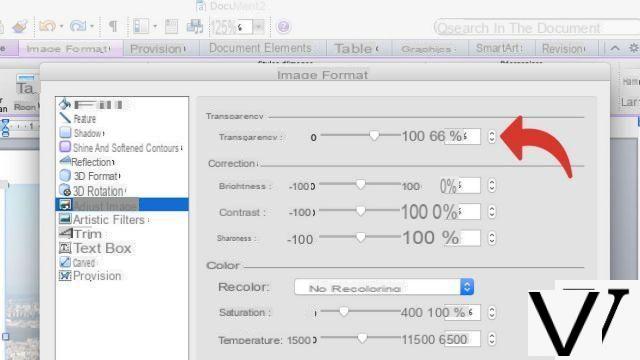
- In the menu Adjust Image, increase the transparency of the image to the desired level. It must allow the text to be seen. Note: on Word Office 365, this option can be found at the location Image> Image transparency.
- In the menu Disposal, select the option Behind the text.

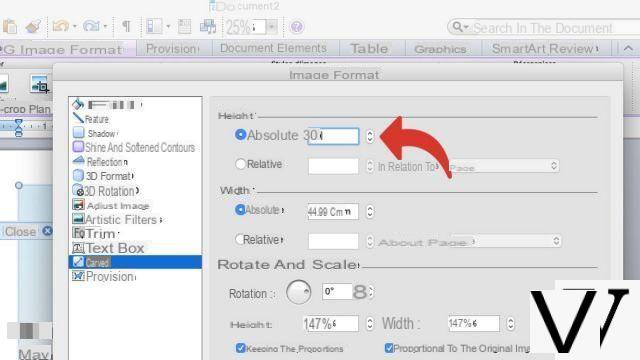
- In the menu Size, in the field Height, enter a value sufficient to completely cover one page of a Word document.
- Close the window Image format. Click on your background image and hold down for the move until the desired space is covered.

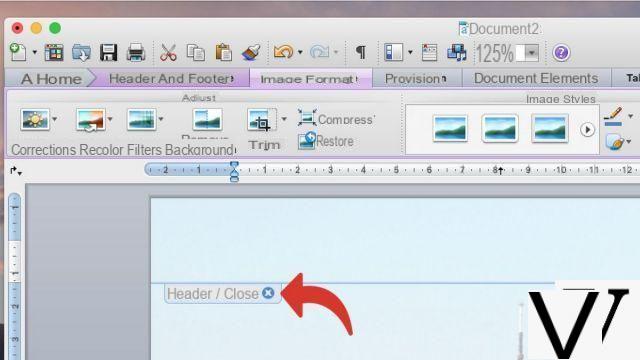
- Once you're done, click on the button Close.
On the latest versions of Word, you can also use the Watermark feature to add a background image. To do this, click on Design> Watermark> Image> Select an image and insert the image of your choice.
To download :
Microsoft Word for Windows 10 | Microsoft Word for MacOS
Find other tutorials on Word:
- How to draw a geometric shape in Word?
- How to insert a geometric shape in Word?
- How to add watermark in Word document?
- How to quickly insert screenshot in Word?
- How to insert picture in Word document?


