Preliminary information
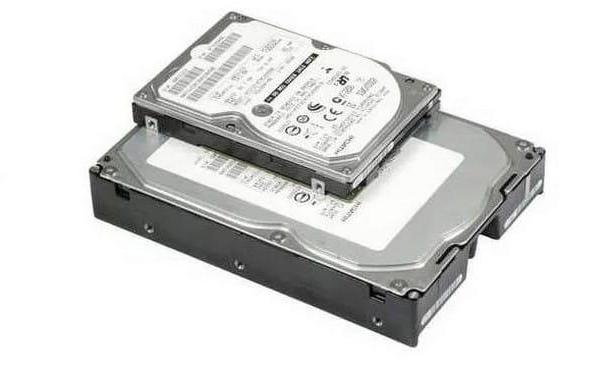
Before proceeding with the purchase of external cases or other similar devices, it is necessary to clarify the difference between the hard drives present inside desktop computers and those designed for laptops, since they are structurally different.
On desktop computers, disks may show up with the 3,5-inch form factor: in this case, the hard disk has the features of a massive unit of considerable size. The thumbs indicate, in this case, the plate diameter contained within the disc and not the size of the body.
On notebooks, however, hard drives adopt the 2,5-inch form factor: in practice, these are much smaller and thinner disks than those that are generally installed on desktop computers. This does not mean, however, that a 2.5-inch drive cannot also be used on a desktop computer: for example, modern solid state devices (SSDs) always have this form factor and can also be used on desktop PCs. (if necessary, using a suitable adapter, they can also be fixed in the bays for 3,5-inch disks).
In the following bars of this guide I will show you the cases, docking stations and adapters available for both 3,5-inch and 2,5-inch drives; keep in mind that, sometimes, a 3.5-inch hard drive adapter can easily hold even smaller drives; clearly, however, the reverse is not true.
Another feature you need to take into consideration is it USB standard supported by the device, which affects the maximum data transfer rate that can be achieved with it. The most popular USB standards are those USB 2.0 (480 Mbps theoretical), USB 3.0 / USB 3.1 Gen 1 / USB 3.2 Gen 1 (Theoretical 5 Gbps), USB 3.1 / USB 3.1 Gen 2 / USB 3.2 Gen 2 (Theoretical 10 Gbps) e USB 3.2 / USB 3.2 Gen 2 × 2 (20 Gbps theoretical). The connectors, then, can be of type USB-A (therefore in standard USB format) or USB-C (smaller and that can be inserted in both directions).
External hard drive case
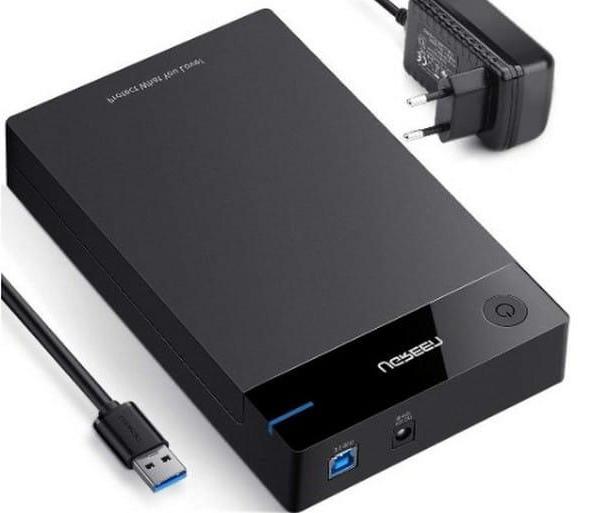
Definitely, the simplest technique for connect an internal hard disk to the PC via USB it involves the use of particular specific "houses", also called HDD enclosure.
In practice, these are small containers in which to insert the hard disk, equipped with special connectors to allow data transfer (and, sometimes, the power supply) through the USB cable; for smaller disks, generally, the electricity supplied by the USB port (preferably in version 3.0, i.e. equipped with a blue internal connector) is more than sufficient to supply electrical power; for larger discs, on the other hand, there may be a separate power supply, which must necessarily be connected to an external electricity source (eg a wall socket).
These houses can be purchased in the best computer stores, or online; below I suggest you some suitable for 3.5-inch discs.
See offer on AmazonIf, on the other hand, you have a 2.5-inch disc, you could use one of the enclosures that I propose below.
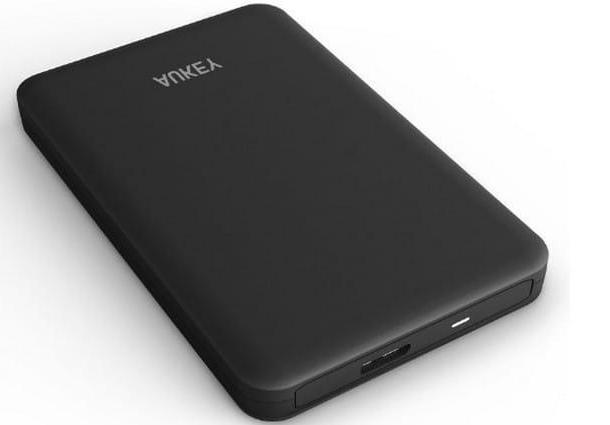
In addition to the form factor of the disk you are about to "recycle", pay close attention to the USB ports available on your computer; in general, on desktop computers there are “standard” USB ports, ie those of Type A that you are used to seeing; on some models of laptops, such as MacBooks for example, only ports are available USB type C, smaller and that support the insertion of the cable in both directions.
In the latter case, you will need to be careful to choose an enclosure equipped with this type of connection: here are some of them available online.
Once the drive is installed inside the enclosure, simply connect the unit to the computer via the USB cable coming from the case, provide power supply, if provided, then you have to turn on the disk by intervening on the appropriate switch, if necessary, and manage it exactly as if it were a common USB key or an external disk.
Docking station
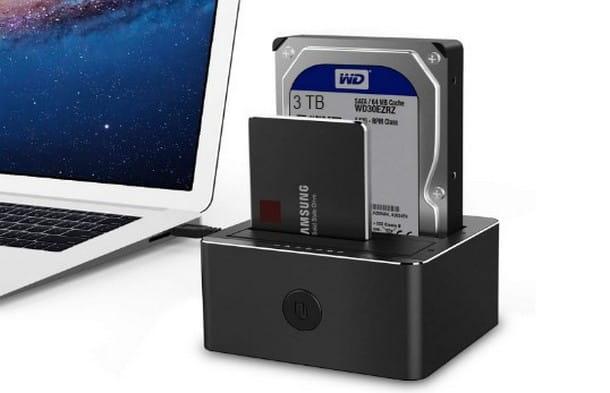
If you need to connect multiple drives to your computer and the enclosure is rather inconvenient, you can use one instead docking station: These devices connect to the computer via the USB cable and require a dedicated power supply, since, when needed, they can also be used with multiple discs at the same time. On some models, the possibility of using the technology is added to the connection via USB eSATA: This type of connection, on compatible computers, provides a faster data transfer rate.
Docking stations often have buttons for instant cloning between connected disks and additional ports and slots that can be used to connect other USB devices or various types of memory cards.
Docking stations can be purchased in the best computer stores, or online. Here I propose some of them.
Again, pay close attention to the type of USB port on your computer! The docking stations I mentioned earlier are all equipped with "standard" cables USB type A; if, however, you have a computer (e.g. a MacBook) with ports only USB type C, you should, instead, orient yourself on devices equipped with this connection category: below you can find some, available online.
Once the docking station is obtained, simply insert the hard disk inside it, connect the device to the power supply and then to the computer, via USB cable: Again, you can manage the attached disk (s) just like a USB stick or external disk.
Some high-end docking stations also provide for the presence of dedicated software, in order to perform operations other than simple reading / writing from PC to disks (eg on-the-fly cloning of disks or creation of RAID volumes).
Adapter
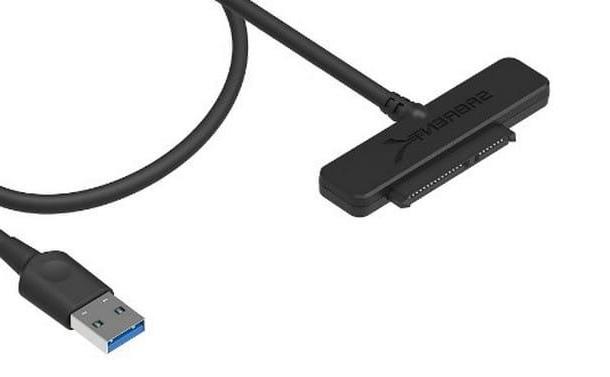
As an alternative to docking stations and external cases, you can also use simple ones SATA-USB adapters, which allows you to immediately connect the disk to the computer without the need to "fiddle" with the enclosure doors, nor the need to have a docking station.
These simple adapters connect to the SATA contacts on the back of hard drives or SSDs and have a simple connector USB. As with homes and docking stations, adapters may also require an additional power source, particularly when used with larger cutting discs, which are more expensive from an electrical point of view.
The SATA-USB adapters can be purchased in the most well-stocked computer shops, or online; again, remember to check the USB port type available on your computer (USB-A o USB-C) and adjust the purchase accordingly.
The use of an adapter does not differ much from what we have seen so far: once the disk is connected, connect the entire device to the power supply, if necessary, and then to a free USB port on the computer. From now on, you can manage the disk as if it were a simple USB stick or a “standard” external hard drive.
How to connect an internal hard drive to your PC via USB


