Confused about how to use an ISO file you downloaded? With Windows, you can open it as if it were a disc. And you can also create your own ISOs using a free utility.
While downloading a version of Windows, software, or a game from the Internet, you may have recovered a large file with the extension .iso. But you might not know what to do with it. Don't panic, this is commonly referred to as an "ISO image". You can very easily open it and use it with Windows, without installing anything on your PC. Depending on the case, you can copy it to a USB stick or burn it to a CD or DVD. And, if necessary, you can also create ISO images yourself ...
What is an ISO image?
Contrary to what the name might suggest, an ISO image is not an image. It is actually a file containing an identical "conform" copy - "iso" meaning "equal", in Greek -, of a disk. This "clone" file, which has the .iso extension, contains all of the original media, and in particular all that is necessary for the installation and use of software, a game , a video, or, more often, an operating system. We therefore speak indifferently of an ISO image, an ISO file or even a disk image or an ISO disk.
On a more technical and general level, disk images are archives - backup copies, if you prefer. A disk image contains both the data and the structure of one or more volumes of a storage device (hard drive, SSD, optical drive, USB key, etc.). ISO is not the only format used for disk images. There are many others such as WIM, IMG, MDF, MDX or even DMG, used by macOS. But ISO remains the most common in the PC world, where it's used primarily for copies of Windows, software, and games.
Even though it is still widely used today, the ISO image technique has been popularized above all with optical discs such as CDs, DVDs and other Blu-rays to facilitate their copying or transfer. This is the reason why ISO files often have sizes inherited from their "ancestors" (700MB for CD, 4,7GB for single layer DVD, 25GB for single layer Blu-ray, etc.). But these are just templates because in practice no predefined size is actually imposed and ISO images of any size can be found.
The interest of using an ISO file? The simplicity ! Because even if it appears as a single file, an ISO image can contain hundreds or even thousands of files, organized the same way as if they were on a CD or DVD, with folders and subfolders or even several. partitions. In short, it is an all-in-one file. Above all, an ISO image can contain very specific system files, sometimes hidden, which are sometimes used for booting. Very practical for starting - or "booting" - a PC, for example.
Another advantage of ISOs, these disk images advantageously replace the CDs and DVDs of yesteryear, in particular on computers without an optical disc drive, in particular on portable PCs. So, you can use them to load and install old software, especially games. Not to mention that the transfer is much faster than with a CD or DVD, especially when the ISO image is stored on an SSD!
An ISO image can be handled like any other file. Finally, with a few nuances… You can copy it all at once to a hard drive or SSD, burn it to a CD or DVD, send it to a server or to an online storage service, and so on. However, its size can be a problem depending on the file system used, especially on USB drives. For example, a USB key formatted in FAT32 will not accept files larger than 4 GB. If an ISO image exceeds this limit, a compatible file system such as NTFS must be used.
To see, and therefore use the content of an ISO image, you must obviously open it. Or rather "mount" it as we say. Indeed, an ISO image is considered to be the equivalent of an optical disc. And to access it, the operating system needs to place it in a virtual disk drive. It therefore creates a fake disk drive for this which is only used to open the ISO image and which appears as a hard drive or CD-DVD drive.
Also, an ISO image is a read-only file. You can open any element it contains, but not modify it - unless you copy it first to another medium. Clearly, we cannot write to an ISO image and therefore not add a file: an inheritance from CDs and DVDs, read-only and which is due to the archival nature of ISO images.
In practice, an ISO image is very easy to open on a PC - we say "mount" - since Windows can handle this type of file as standard. So you don't need anything to explore the contents of an ISO image and copy its files to your computer. On the other hand, you need a specialized tool to create an ISO image, the operation not being natively supported by Windows.
How to open an ISO file on PC?
You don't need anything special to open - we say "mount" - an ISO image on a Windows PC has it all. The handling varies slightly depending on whether you are using Windows 10, Windows 8 or Windows 7.
Mount an ISO image with Windows 10
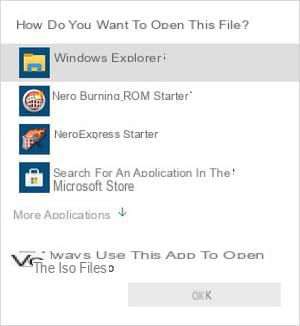
- With Windows File Explorer, double click on the ISO file you recovered. A window will appear, asking you to choose the application to use to open this file. Select Windows explorer in the list and validate by clicking on the button OK.
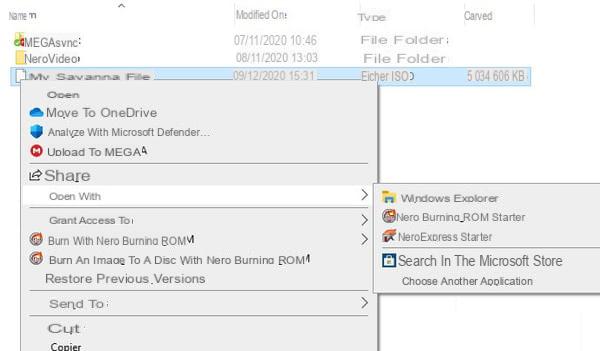
- Alternate method if you don't get the previous window, for example, right-click the ISO image in Windows File Explorer. In the pop-up menu that appears, select the function Open with…, then click Windows explorer in the cascading submenu.
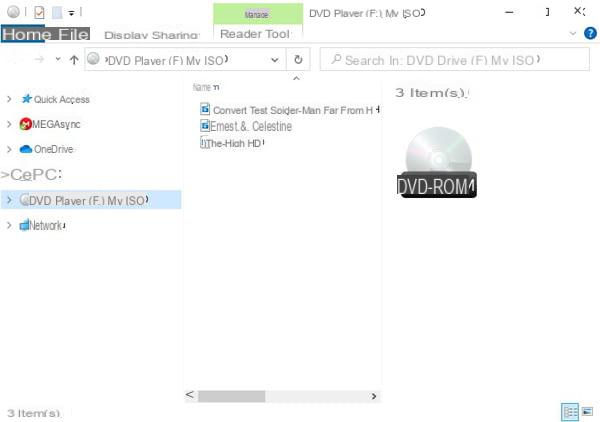
- A new File Explorer window opens showing a virtual CD-DVD drive. You can then open it to see its content and use the files in the different folders, including to launch software. Be careful, you can copy files from the ISO image to your PC or another medium, but not add or modify elements on the ISO image, the file being read-only, like a banal CD.
Mount an ISO image with a version older than Windows 10
- In Windows Explorer, right-click the ISO image.
- In the pop-up menu that appears, select the function Choose a drive letter and mount.
- Then choose a letter - which is not already taken by one of your real disks - to 'assign to the virtual drive that will be created and validate by clicking on the button OK.
- A window opens, showing you the virtual drive with its letter. You can then explore and use its content.
Mount an ISO image with specialized software
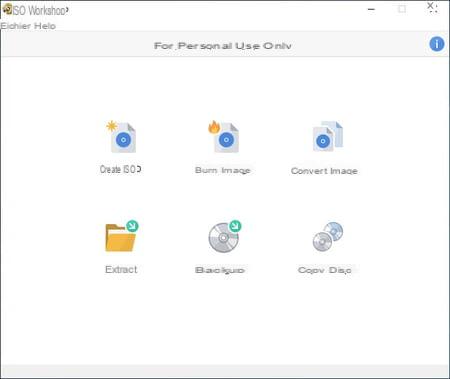
Under Windows, you can also open ISO images using software that is used to create them, such as ISO Workshop, Magic ISO, Xilisoft ISO Burner, Free DVD ISO Maker, LC ISO Creator or PowerISO but also with file compression utilities , like Winrar or 7-Zip. Here is how to do it with ISO Workshop (see below), the principle being identical with the other tools.
- Open the software by double-clicking on its icon on the Windows desktop or in the menu Start.
- Click on the button Extract on the home page of the application.
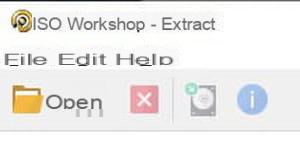
- Click on the button Open at the top, or on the menu File then Open.
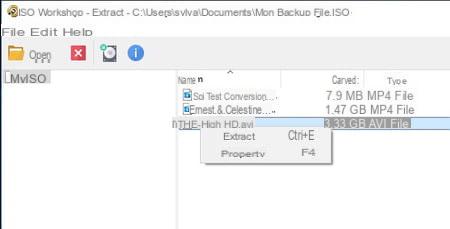
- Browse the contents of your computer (hard drive, SSD, USB drive, etc.) to find and select the ISO image to open.
- Once the ISO file is open in the application, right-click on a file or folder of its contents, in the right part, and select the function Extract from the context menu. You can also select one or more elements and click on the button representing a hard drive with a green arrow in the toolbar.
- Select a destination folder in the following window and validate by clicking on Select a folder.
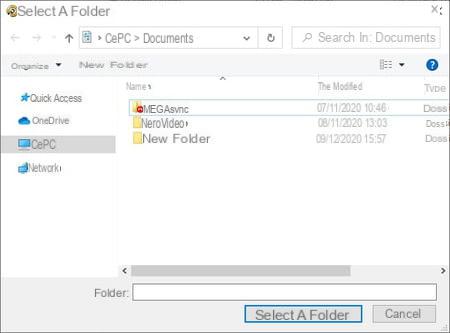
- The selected items are then copied to the location indicated.
How to create ISO image on PC?
Creating an ISO image is an interesting solution to obtain a certified copy - therefore complete - of any storage device (hard drive, SSD, USB key, CD, DVD, etc.), whether to archive it instead. safe or to use it more easily instead of the original media. It is thus very convenient to keep a copy of Windows or another operating system, of a computer hard drive with the system with all installed software and saved personal files, of a game, d 'a DVD movie, etc. All as a backup copy and for personal use, as stipulated by the right to private copying.
You don't need to be a computer expert to create an ISO image on PC. Of course, Windows cannot do this directly, but there are many specialized tools - often free - for this, such as ISO Workshop, Magic ISO, Xilisoft ISO Burner, Free DVD ISO Maker, LC ISO Creator or PowerISO (non-exhaustive list ), which all work on the same principle. In this practical sheet, we use the ISO Workshop software, which has the advantage of being well followed by its editor, of working on all versions of Windows and of offering a clear interface in French (even if some terms remain in English).
- With your usual web browser, download ISO Workshop from our Download section.
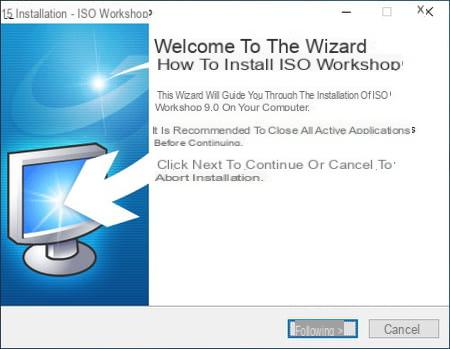
- Open the download folder on your PC, then double-click on the file you just downloaded (isoworkshop_10.0.exe in our case) to start the installation of ISO Workshop. The operation is classic and without trap.
- Confirm the language in the first window, accept the user license, then follow the on-screen instructions and click on Next et Installer until the end of the process.
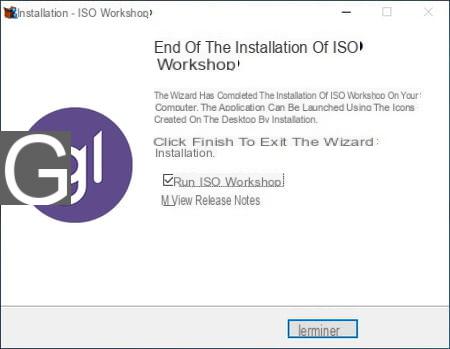
- At the last step, leave the box checked Open ISO Workshop and click on the button finish to immediately launch the software.
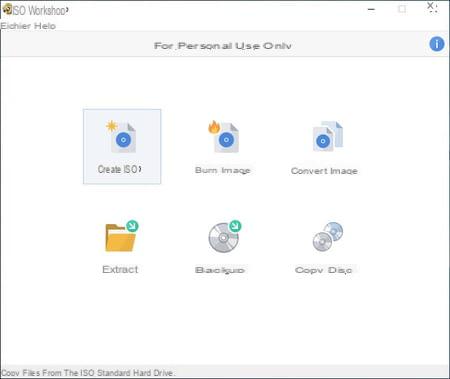
- When opened, the software presents a very simple interface with only a few options. To create an ISO file, click on the button Create ISO.
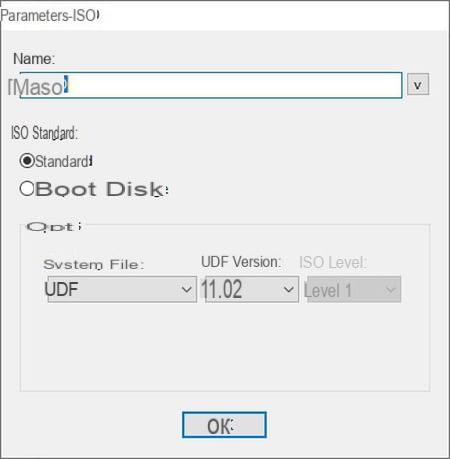
- In the window that then opens, give a name to your "project" in the Name field and leave the other parameters in their default setting (ISO type on Standard and System file on UDF). Click on the button OK to validate.
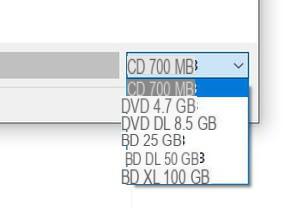
- The main interface of ISO Workshop is displayed, almost empty. At the bottom of the window, on the right, define the size of your future virtual disk, according to its type, by clicking on the small menu: CD (700 MB), single layer DVD (4,7 GB), double layer DVD ( 8,5 GB), Single-layer Blu-ray (25 GB), Double-layer Blu-ray (50 GB), or Blu-ray XL (100 GB). Do not worry if the total size of the files you are going to select exceeds the capacity of the chosen "virtual medium", you can always adapt it by selecting another value in this menu.
- Then click on the button Make, in the bar at the top of the window. A new window opens in superimposition to allow you to select the files to add.
- Browse the tree structure of your computer and select the files and folders to place in your ISO image by clicking on the button Add. You can select several at the same time by holding the button Ctrl with the keyboard pressed or with the mouse cursor, as you would in Windows Explorer, changing if necessary the type of display to better find your way (icons, list or details) via the drop-down menu at the bottom left from the window.
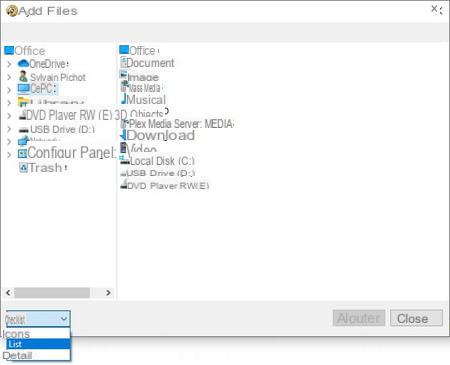
- When all the desired elements are selected, click the button Close.
- In the recording window that then appears, give your ISO file a name and indicate where it should be stored by browsing your computer's tree structure, as you do in Windows Explorer. Confirm your choices by clicking on the button Save.
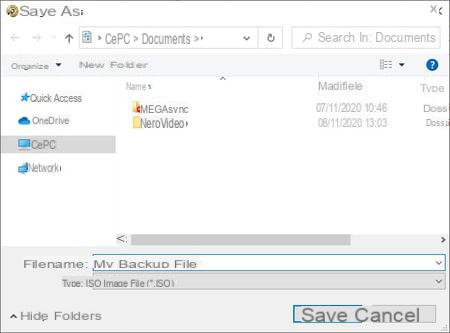
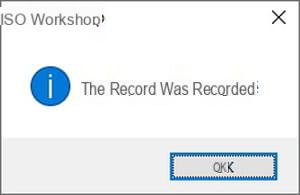
- The recording of the ISO file starts immediately. At the end of the process, a message should tell you that the disc has been recorded successfully. Validate by clicking on the button OK. You will find the ISO image in the location you specified.
