If a user wishes to use different operating systems on a single machine, then it is possible to create a virtual machine which can "virtualize" the operating system (s) of his choice.
A free and open source tool allows you to do this, it is about VirtualBox.
Thanks to this tool, the user will be able to switch easily from one system to another, without having to change machines.
- Why create a virtual machine?
- How to create a virtual machine with VirtualBox?
- How to configure your virtual machine?
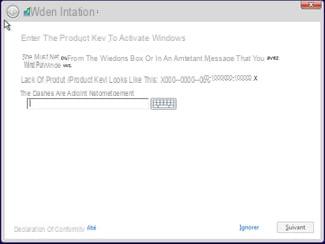
Note: At the end of this process, you will need a product activation key to be able to install the operating system you have chosen for your virtual machine. Do not go into creating and configuring a machine if you do not have this key.
Why create a virtual machine?
This can be useful if, for example, the user wants to use a program that runs on a different operating system than their own, or if the user simply wants to test software without cluttering up their system, etc.
Alternatively, if a developer needs to perform tests in different operating systems, he can do it from a single machine.
How to create a virtual machine with VirtualBox?
To get started, download and install VirtualBox by following THIS LINK for the Windows version, and THIS LINK for the Mac version.
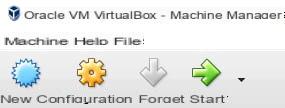
Once VirtualBox is launched, click on the "New" button (top left), to create a new virtual machine:
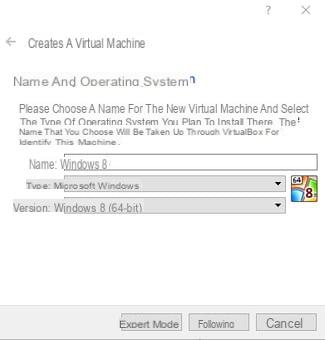
In the menu that opens, name your new machine, then select the type and version according to your choice. Then validate by clicking on "next". For the example, we named our "Windows 8", chose the type "Microsoft Windows", and selected the version "Windows 8 (64-bits):
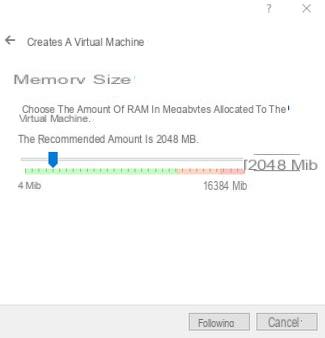
In the next menu, you will need to indicate the amount of RAM you want to allocate to your virtual machine. It is not recommended to go below the amount recommended by VirtualBox, but nothing prevents you from going above according to your needs. Be careful, however, not to go into the red zone, otherwise the system may not work properly.
The best is to keep the recommended amount. Click on "Next" to validate:
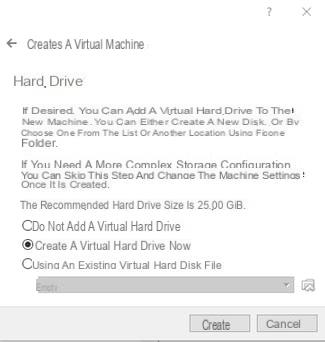
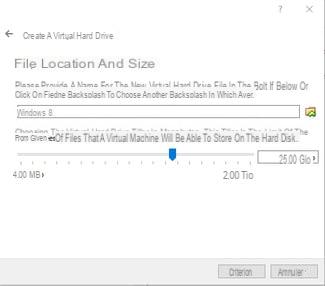
The menu that then appears allows you to allocate the space of your choice on your hard drive to your new virtual machine. As for the previous menu, a recommended size is already displayed: 25,00 GiB for our example.
The "Create a virtual hard disk now" checkbox is also checked, so all you have to do is validate by clicking on "Create":
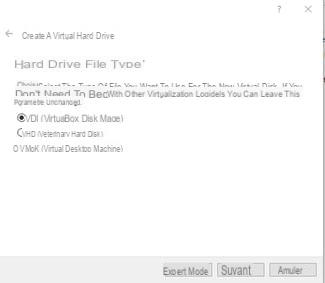
You will then need to choose a Hard Disk File Type for your virtual disk. If you are not using any other virtualization software, leave the one selected by default (VDI in our case), and click "Next":
Then select the "Dynamically allocated" checkbox, this option will automatically adapt the reserved disk space according to its use (much more practical).
Then click on "Next":

Finally, select the maximum size that your virtual disk can reach if necessary.
Click on "Create" to complete the creation of your virtual machine:
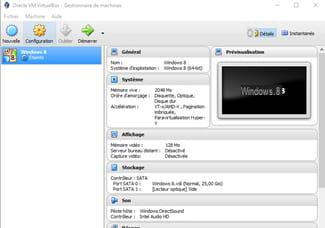
Your new machine will then be displayed in the left pane on the VirtualBox main menu. All you have to do is configure it:
How to configure your virtual machine?
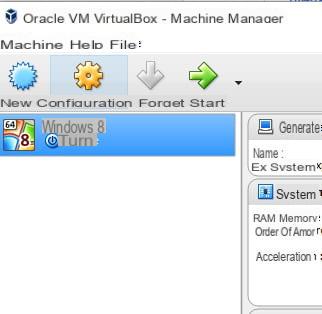
Select your newly created virtual machine in the left pane, and click on the toothed wheel (the configuration menu):
Now click on the "System" line in the left pane of the menu that has just been displayed:
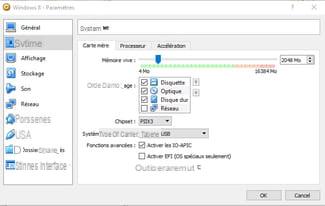
It is recommended to leave the options as they are. You must leave the "Activate IO-APIC" box checked, especially for a 64-bit system.
Select the "Processor" tab, still in the "System" section:
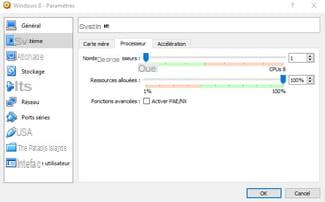
Depending on the number of cores in your processor, you will be able to indicate how many will be allocated to your virtual machine.
For a dual core you can assign one processor, and for a quadruple you can assign two.
To find out the number of cores in your processor, do a control + alt + del, go to the task Manager, and click on the "Performance" tab. You will then find the number of cores indicated below the graph:
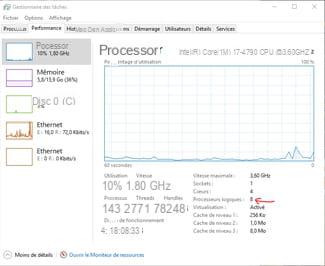
In our example, we have a quadruple core, so we can assign two to our machine:

Validate by clicking on "Ok".
To finish configuring your machine, click on the "Display" box among the boxes to the right of the main menu:

In the menu that appears, click on the "Screen" tab on the right:
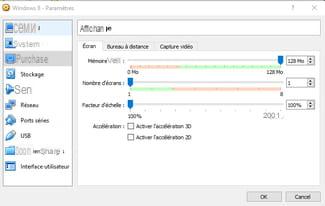
Check the boxes "Activate 3D acceleration", and "Activate 2D acceleration":

The video memory slider should be in the middle of the selection bar. If not, move the slider.
Don't forget to indicate the number of screens you are using (in our example, we are using 2 screens).
Then validate your settings by clicking on "Ok":
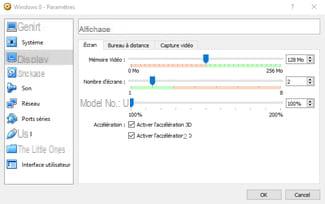
Your virtual machine is finally created! All you have to do is double-click on it to open it, and install your system using a product key:
